
DIY FPV flight simulator using a VTX, control receiver and HDMI converter
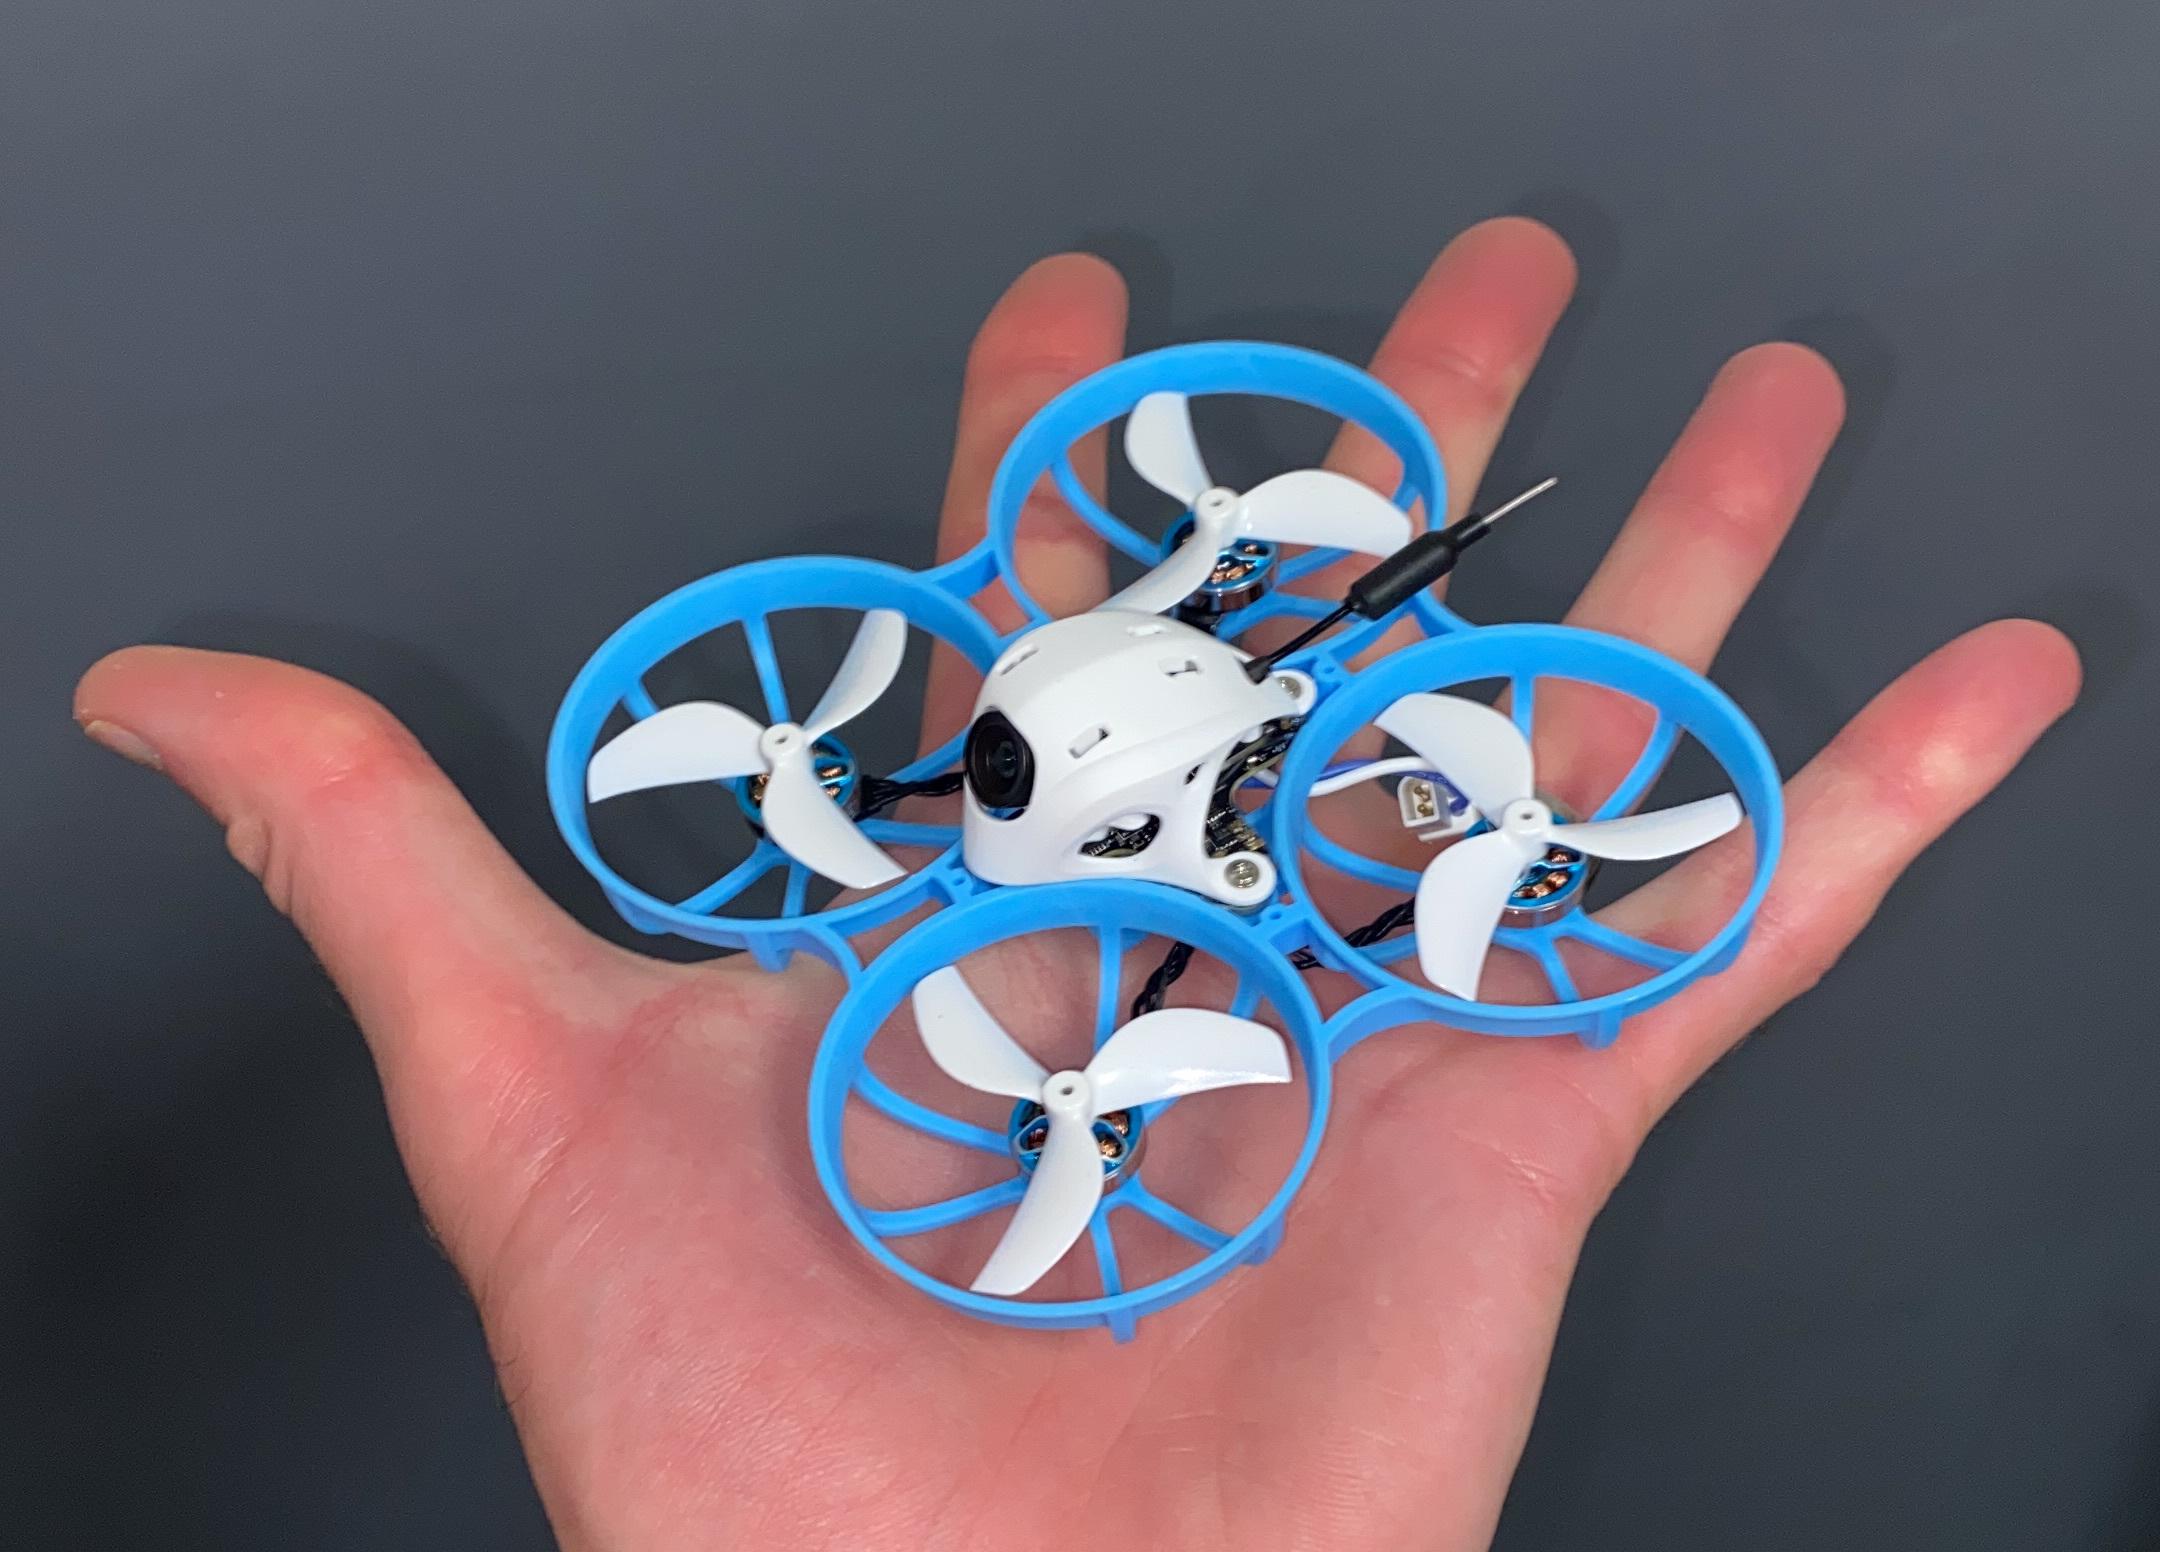
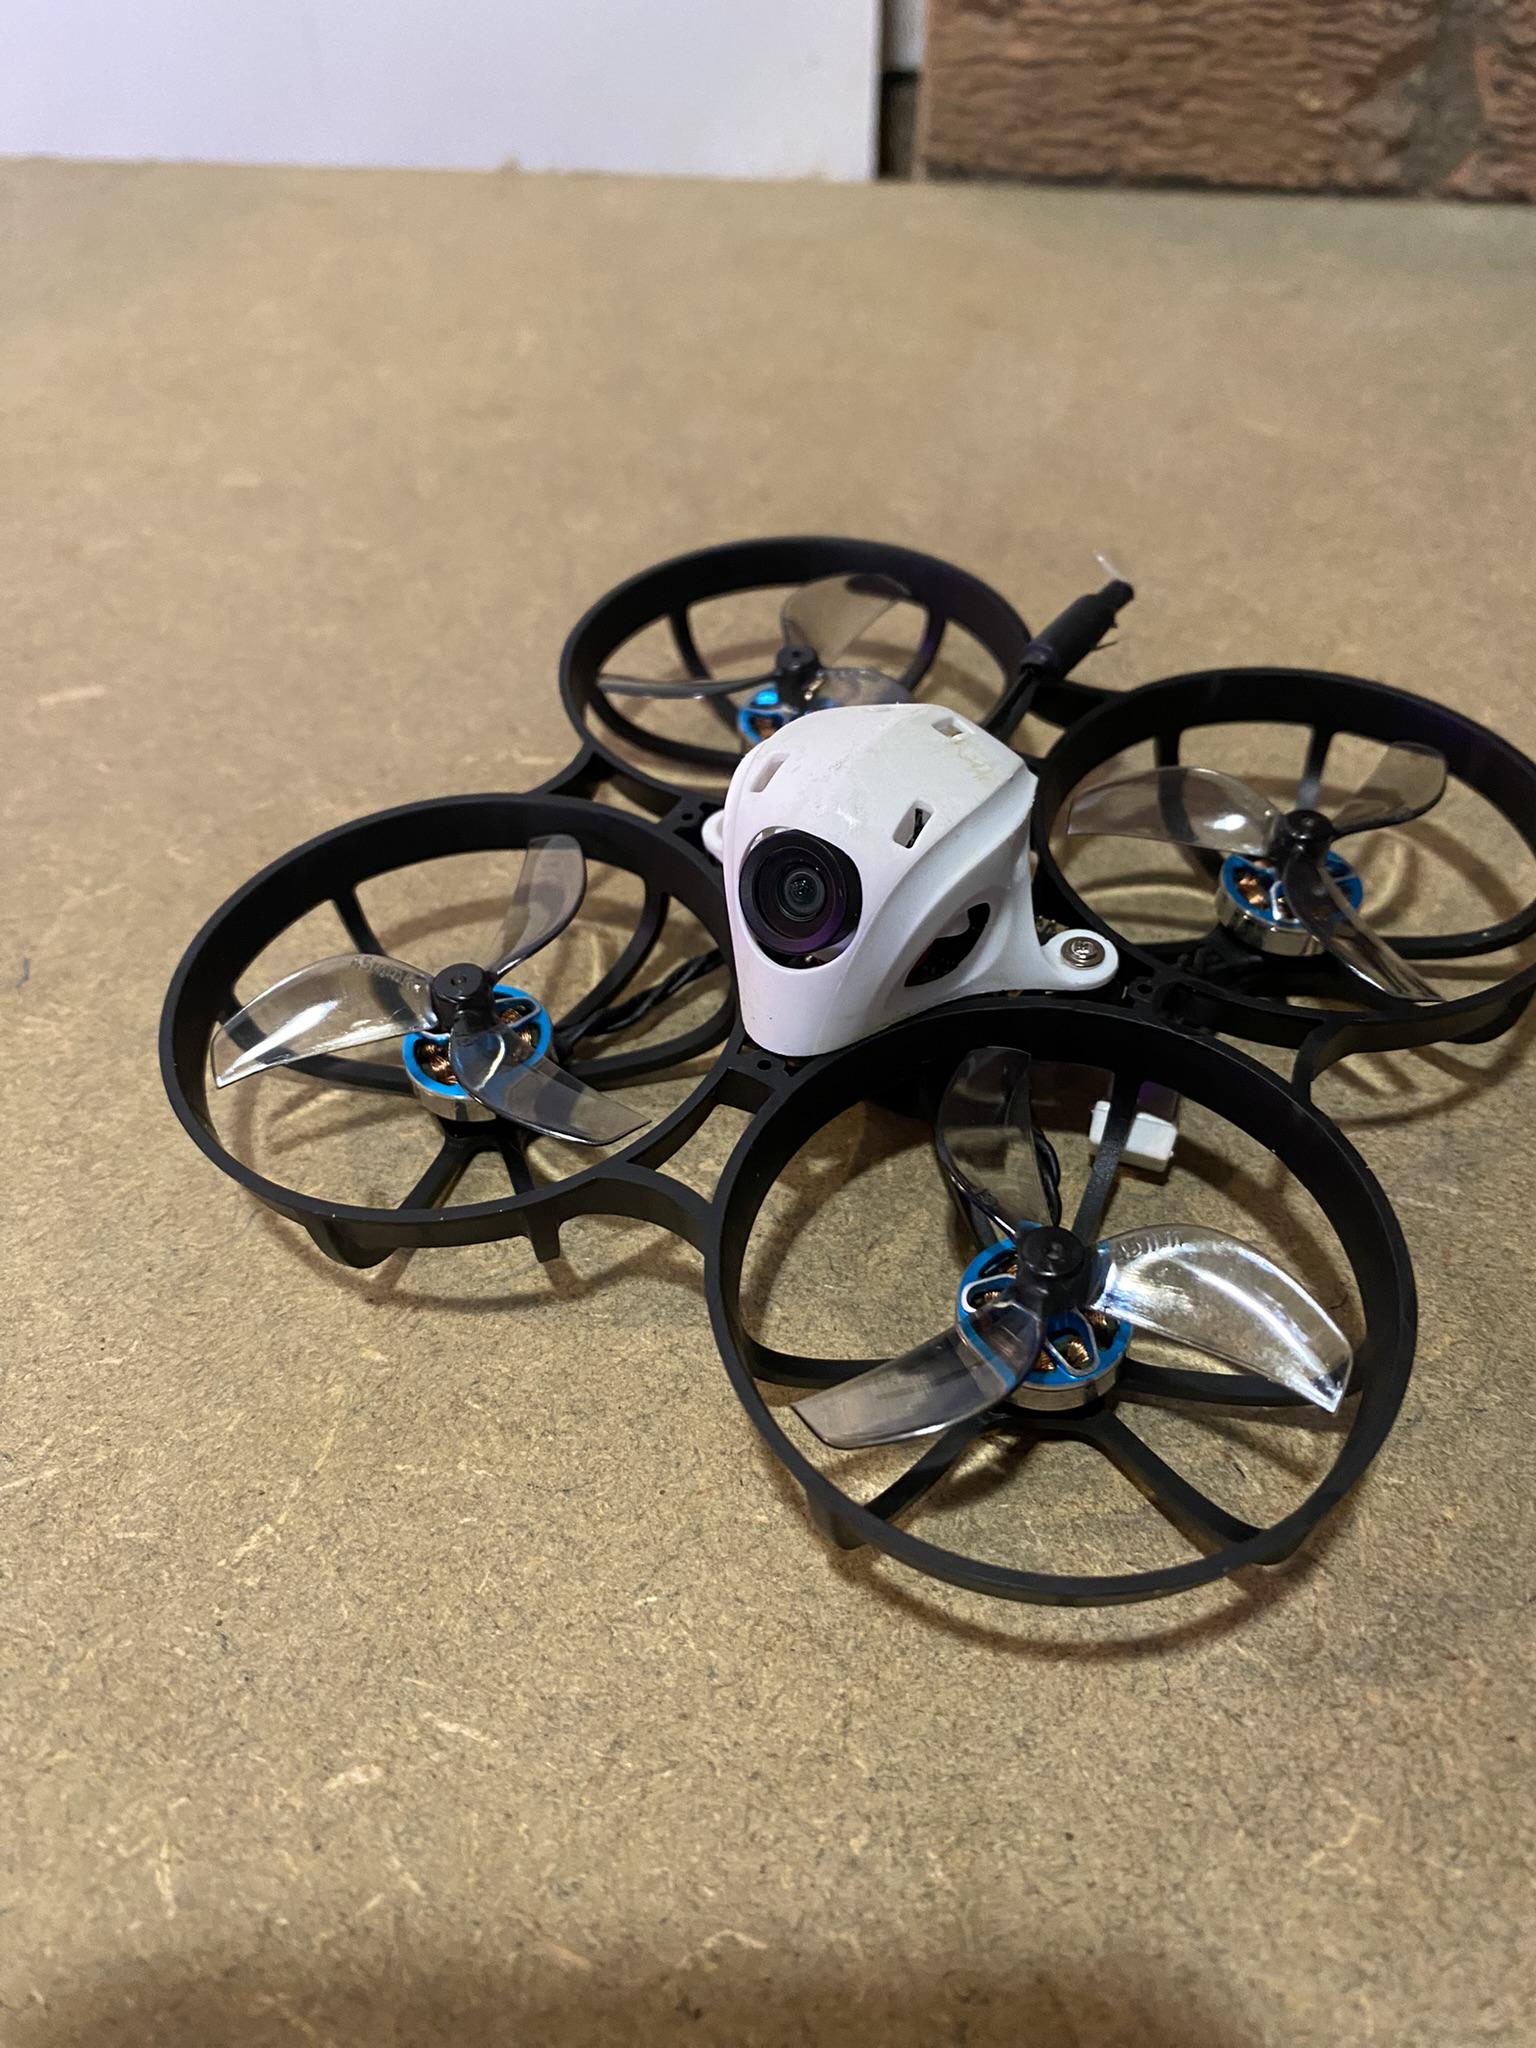
I’ve recently got into a bit of a rabbit hole with FPV quadcopter drones.1 Specifically with a “mini-whoop” style drone, the Meteor 75 Pro.
As it turns out, it’s possible to connect a real drone controller to a computer to practice flying with many different simulators. I’ve tried a few of them, but I think the best one is Liftoff – it feels the most realistic.
It’s common to practice in a simulator to get better at flying a real drone without risking damage in real life. This works great! I’ve logged around 22 hours or so on the simulator in acro mode;2 this has helped me get a good feel for the controls and I can fly now without thinking.3
But what about taking the realism to the next level? Time for a quick evening project.
I will write a guide to this rabbit hole! ↩︎
Acro mode means your sticks control the angular velocity of pitch and roll instead of the angle. Harder to master, but feels completely unconstrained – and fun! ↩︎
I’ve selected and matched my rates in the simulator to my real drone, so the muscle memory is transferable. ↩︎
The idea
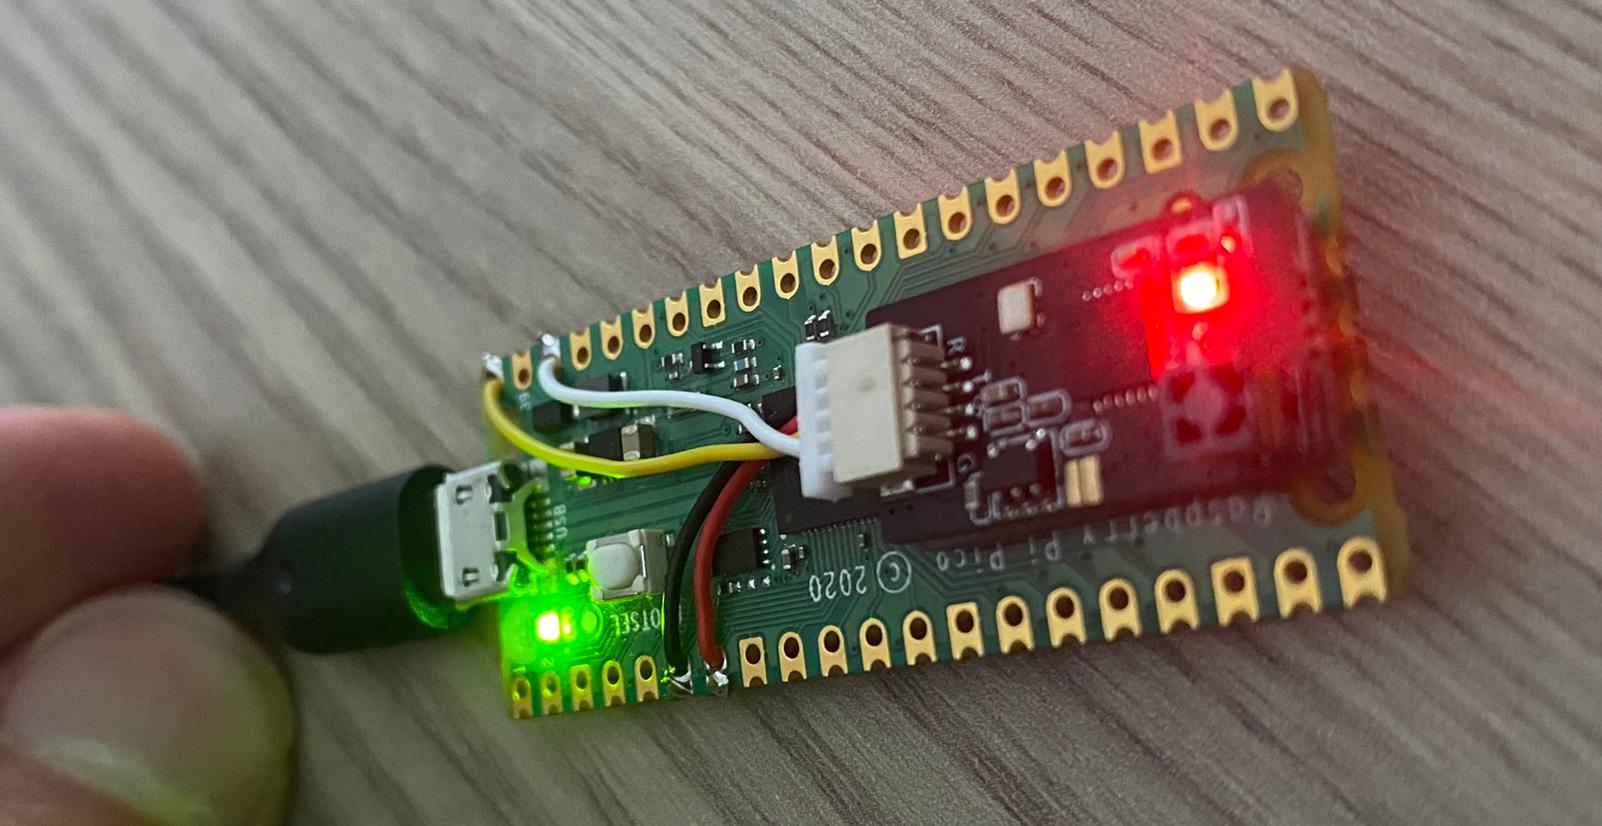
For a few weeks I’ve been using a Express LRS to USB converter, based on CRSFjoystick – using a Pi Pico. This has allowed me to use my Radiomaster Pocket) with my PC wirelessly, working without any changing configuration from my real drone every time I want to connect. I achieved this with a binding phrase.
I tried a friend’s FPV headset which had a HDMI in. It was a massive headset so not that practical, and a pain with extra cables. It was surprisingly different controlling the simulator with the headset on – muscle memory was not as good as with the monitor; likely because of the screen feeling so close to my face.
This got me thinking – what if I could wirelessly transmit the video from the PC to my compact BetaFPV VR03 goggles? This would make it closer to the real world drone experience without the bulkiness of cables etc.
The analog FPV world is much more open (currently) versus the digital world. As such it’s possible to grab any PAL/NTSC 5.8Ghz transmitter and use it with the headset.
At first I tried to find a transmitter that could be powered by 5v USB, so there’s no need for a more complicated power supply assuming the current draw is acceptable. Unfortunately, the only one I could find was suddenly unavailable part way through the ordering process.
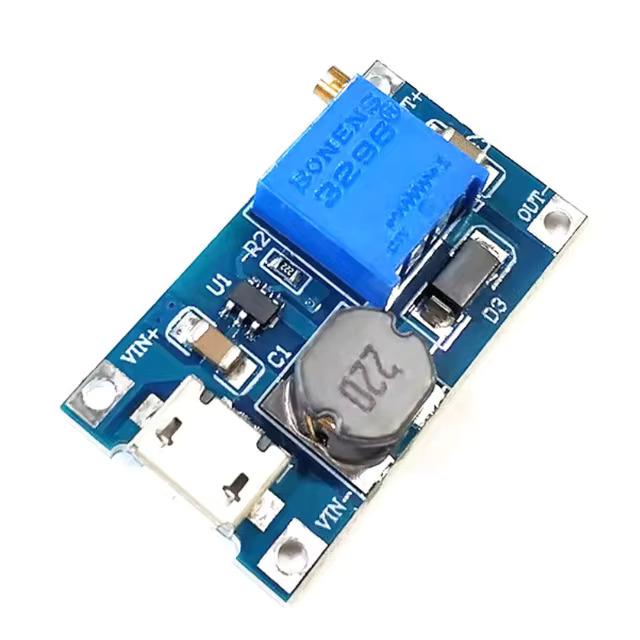
Instead I decided to take a chance with one that requires 7-32v and a boost converter module to go from 5v to 7v. I chose one with a heatsink as they can generate a lot of heat, usually requiring good airflow. I hoped that in the low power mode (usually 25mW) it would be ok without any active cooling.
As for the PC video interface, I took a chance on a commodity USB powered HDMI to composite converter hoping the latency would be acceptable.
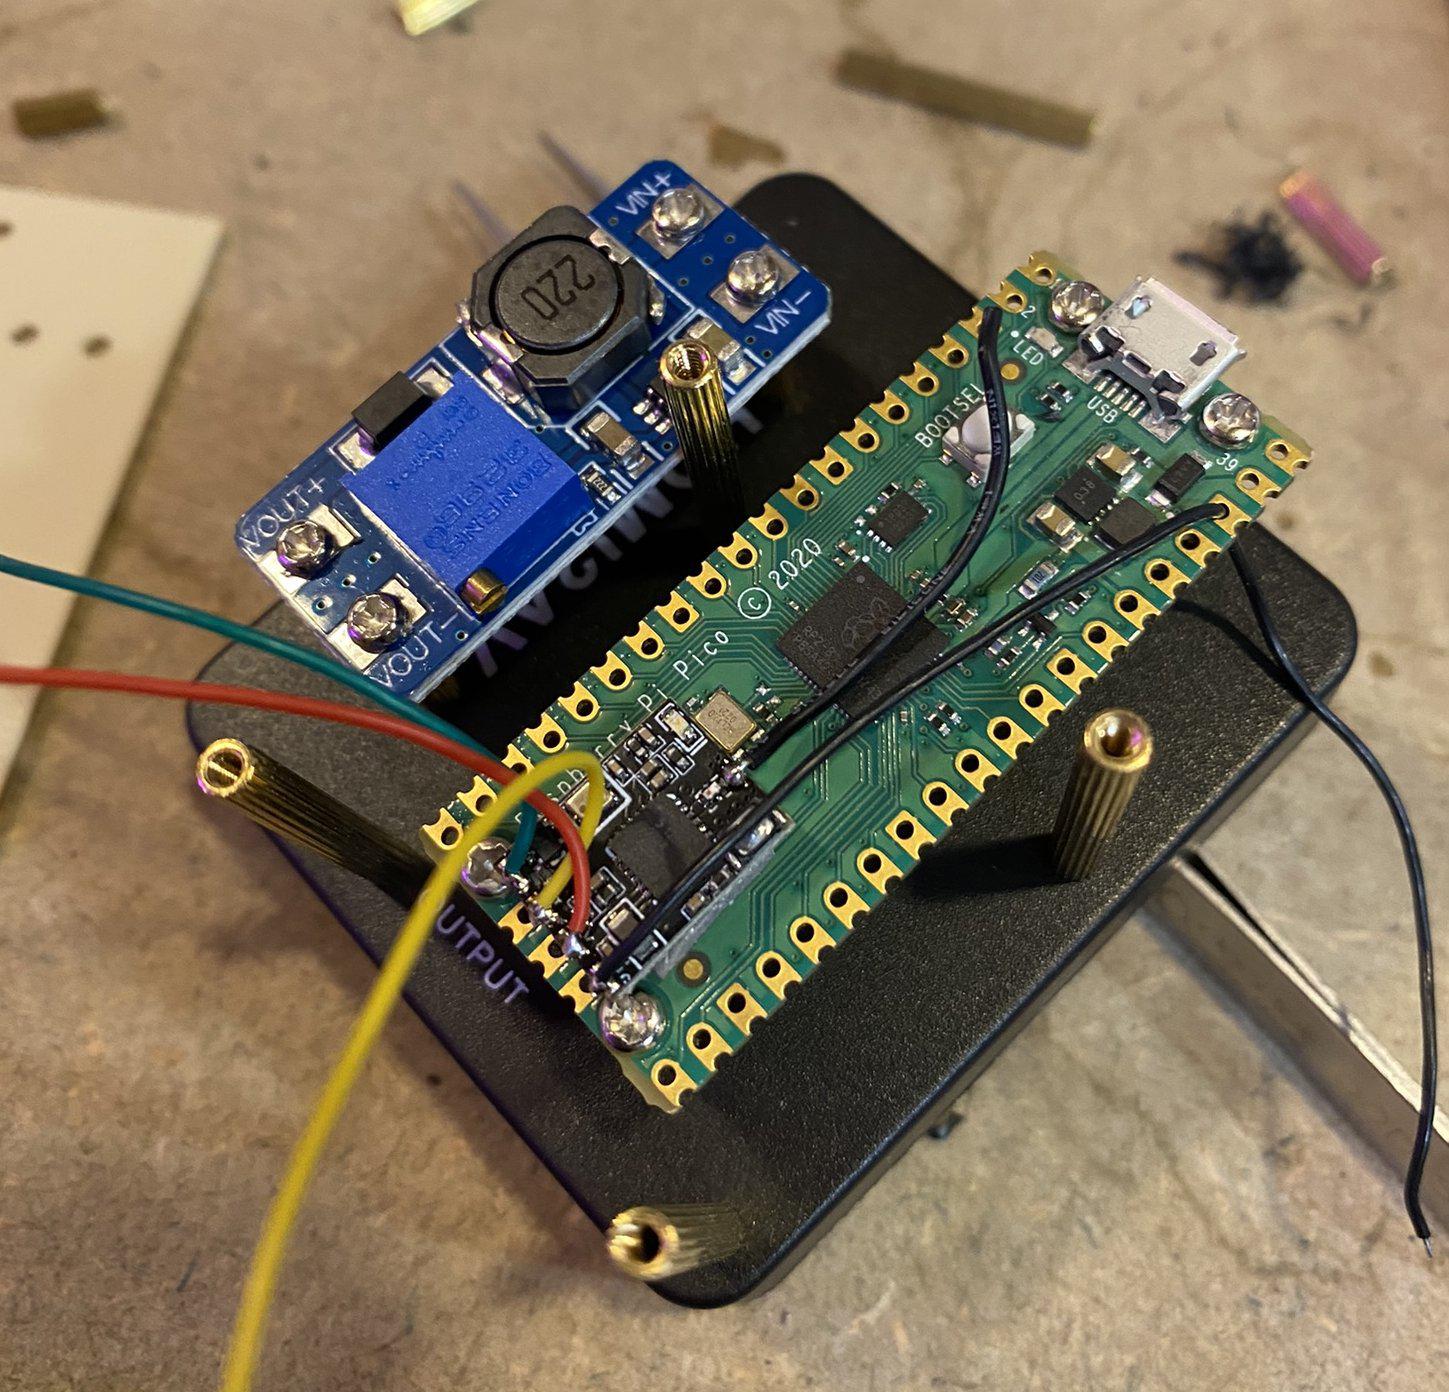
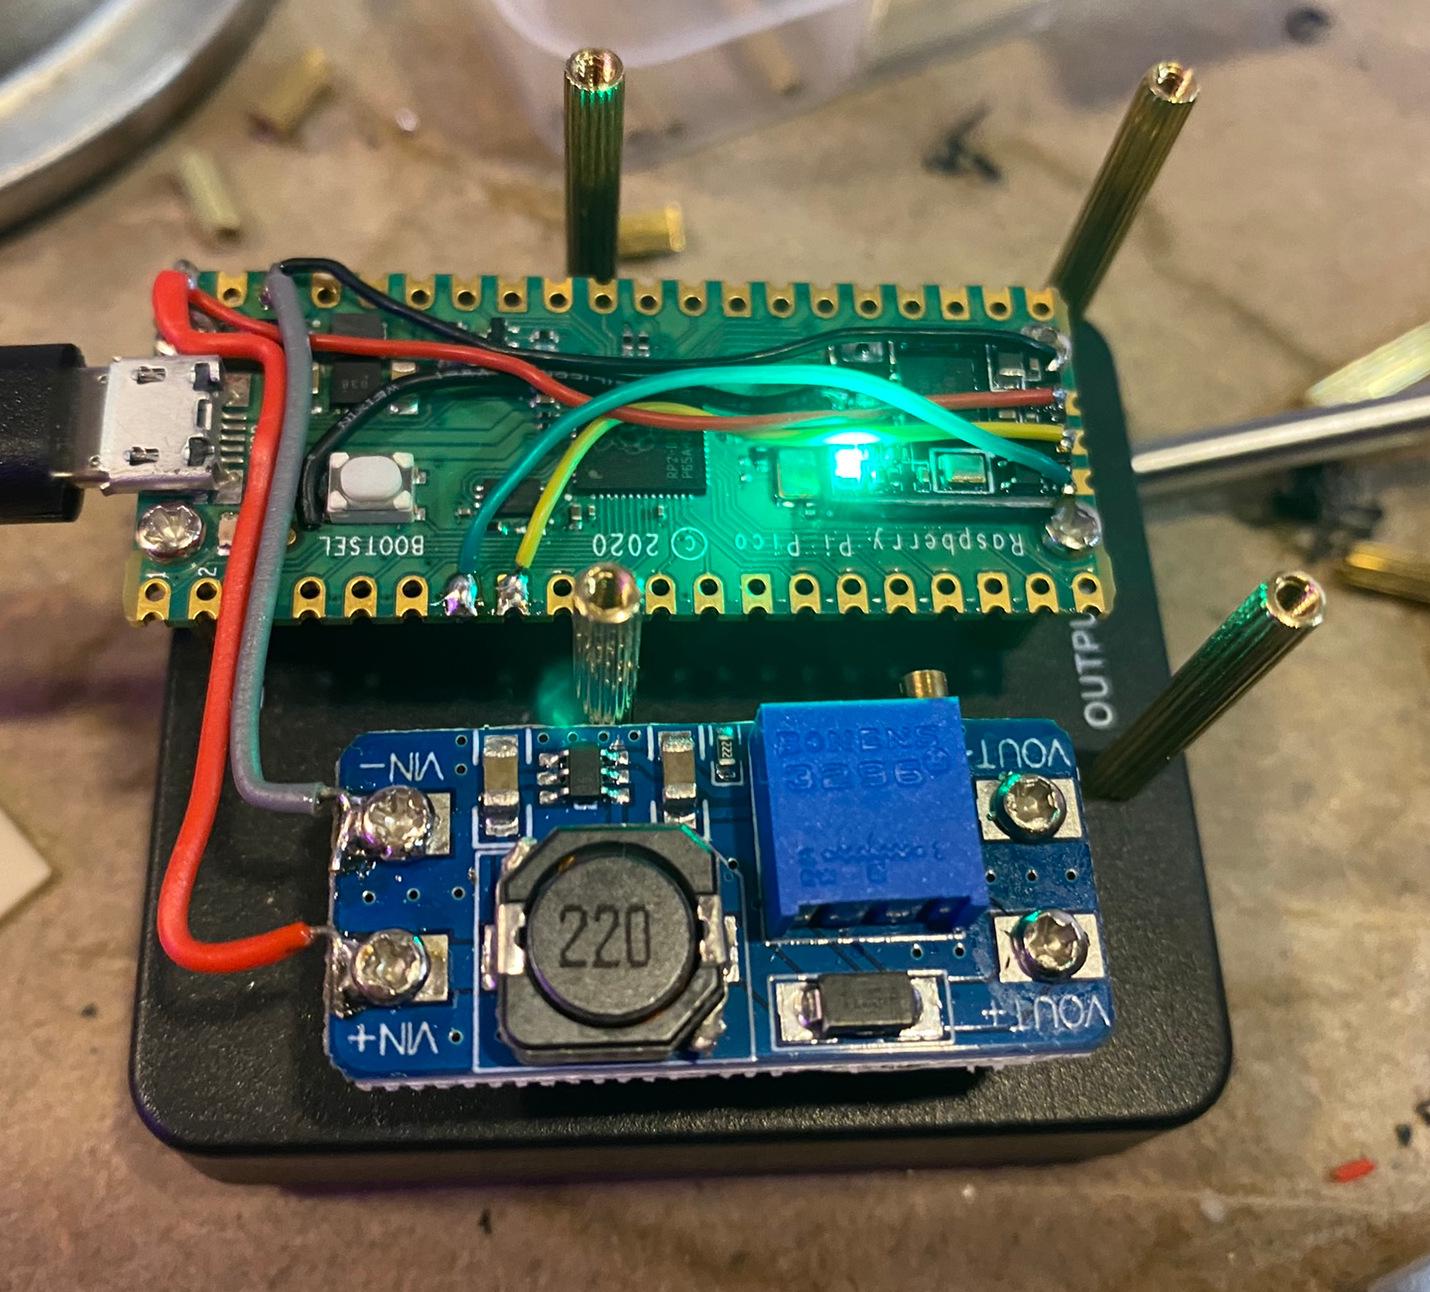
Given the success with the CRSFjoystick module, I figured I’d make another and also use it for the 5v power source.
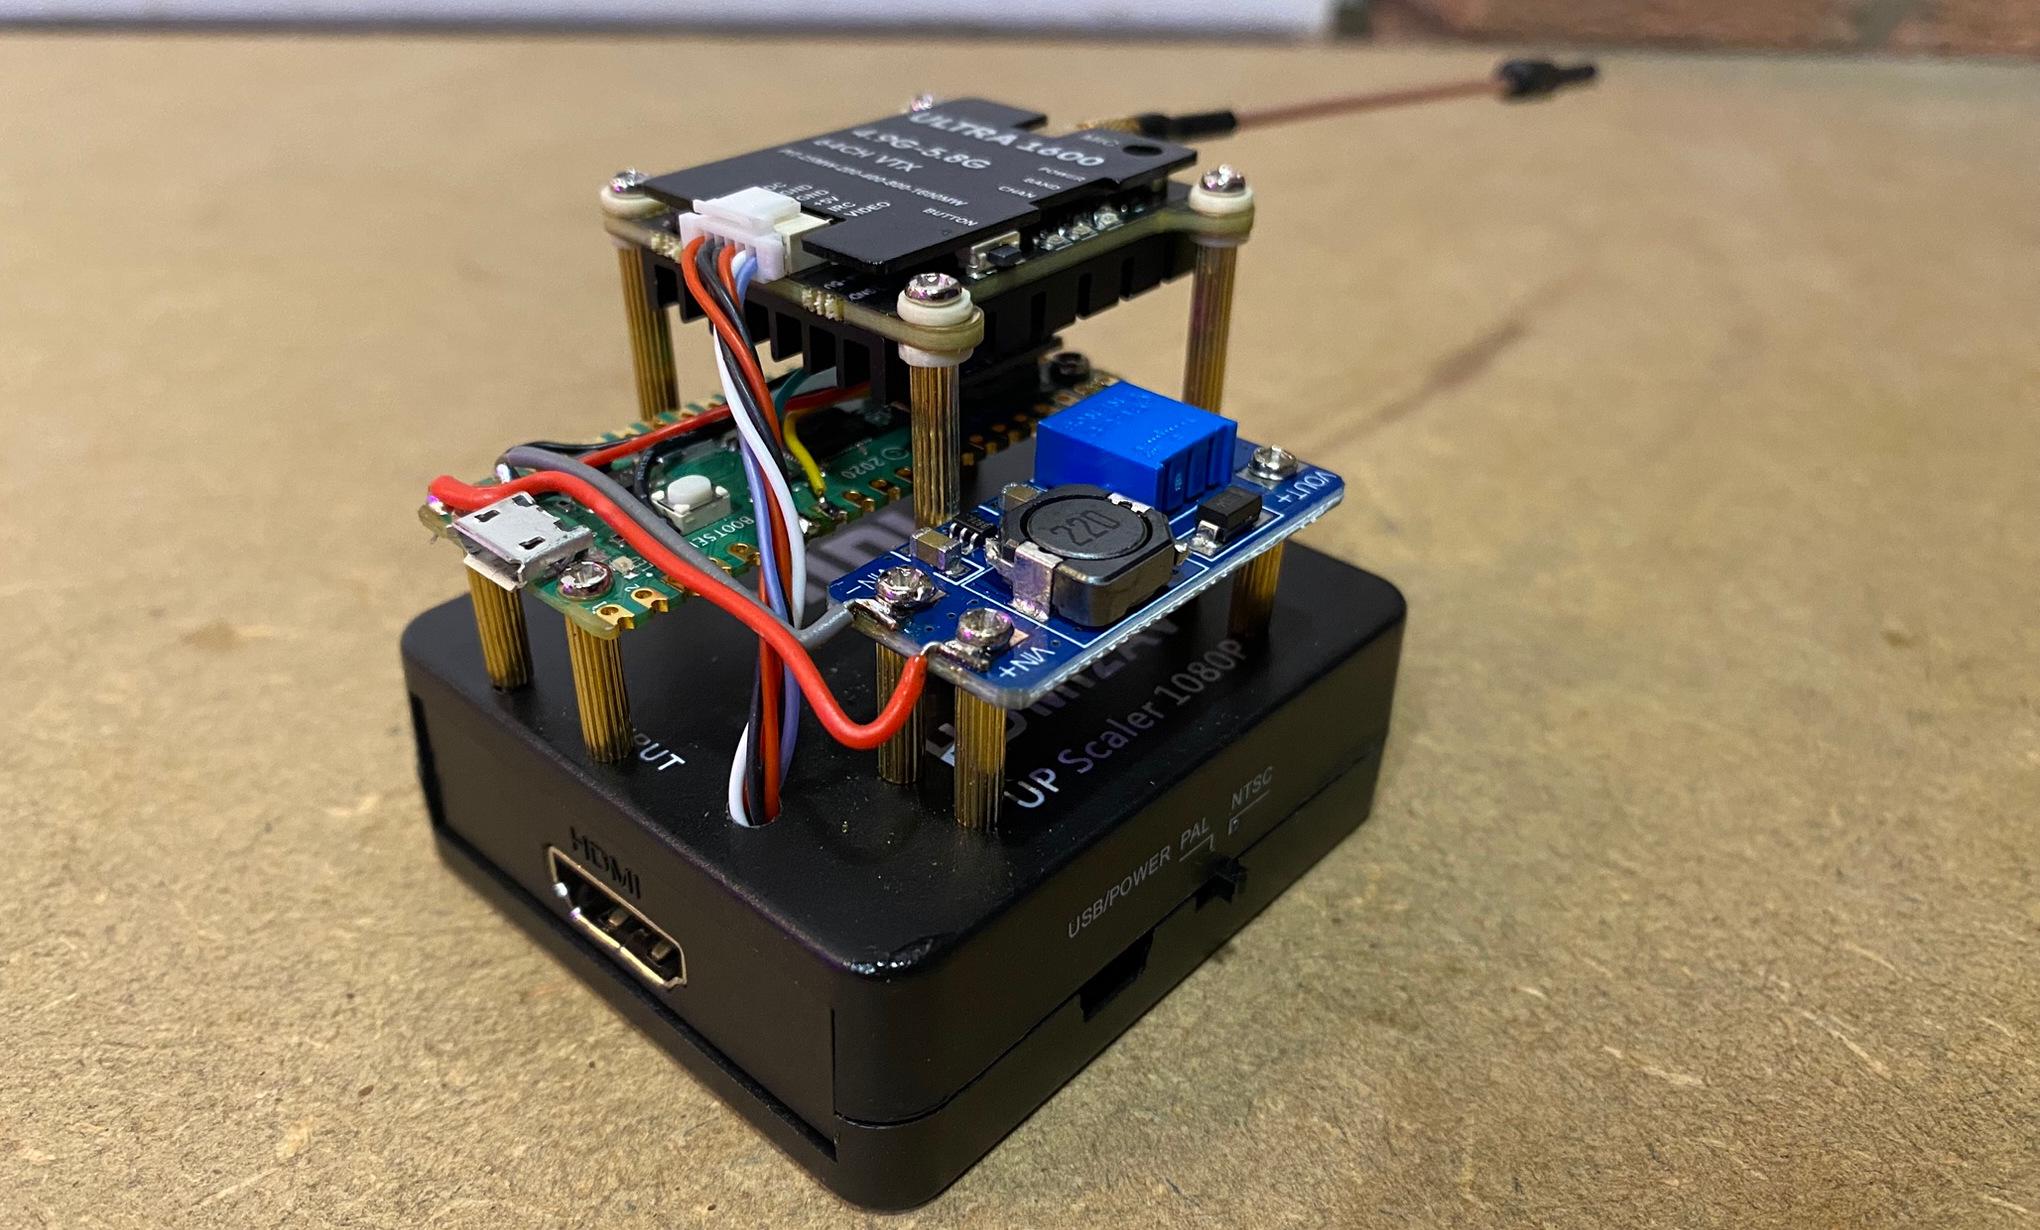
The implementation
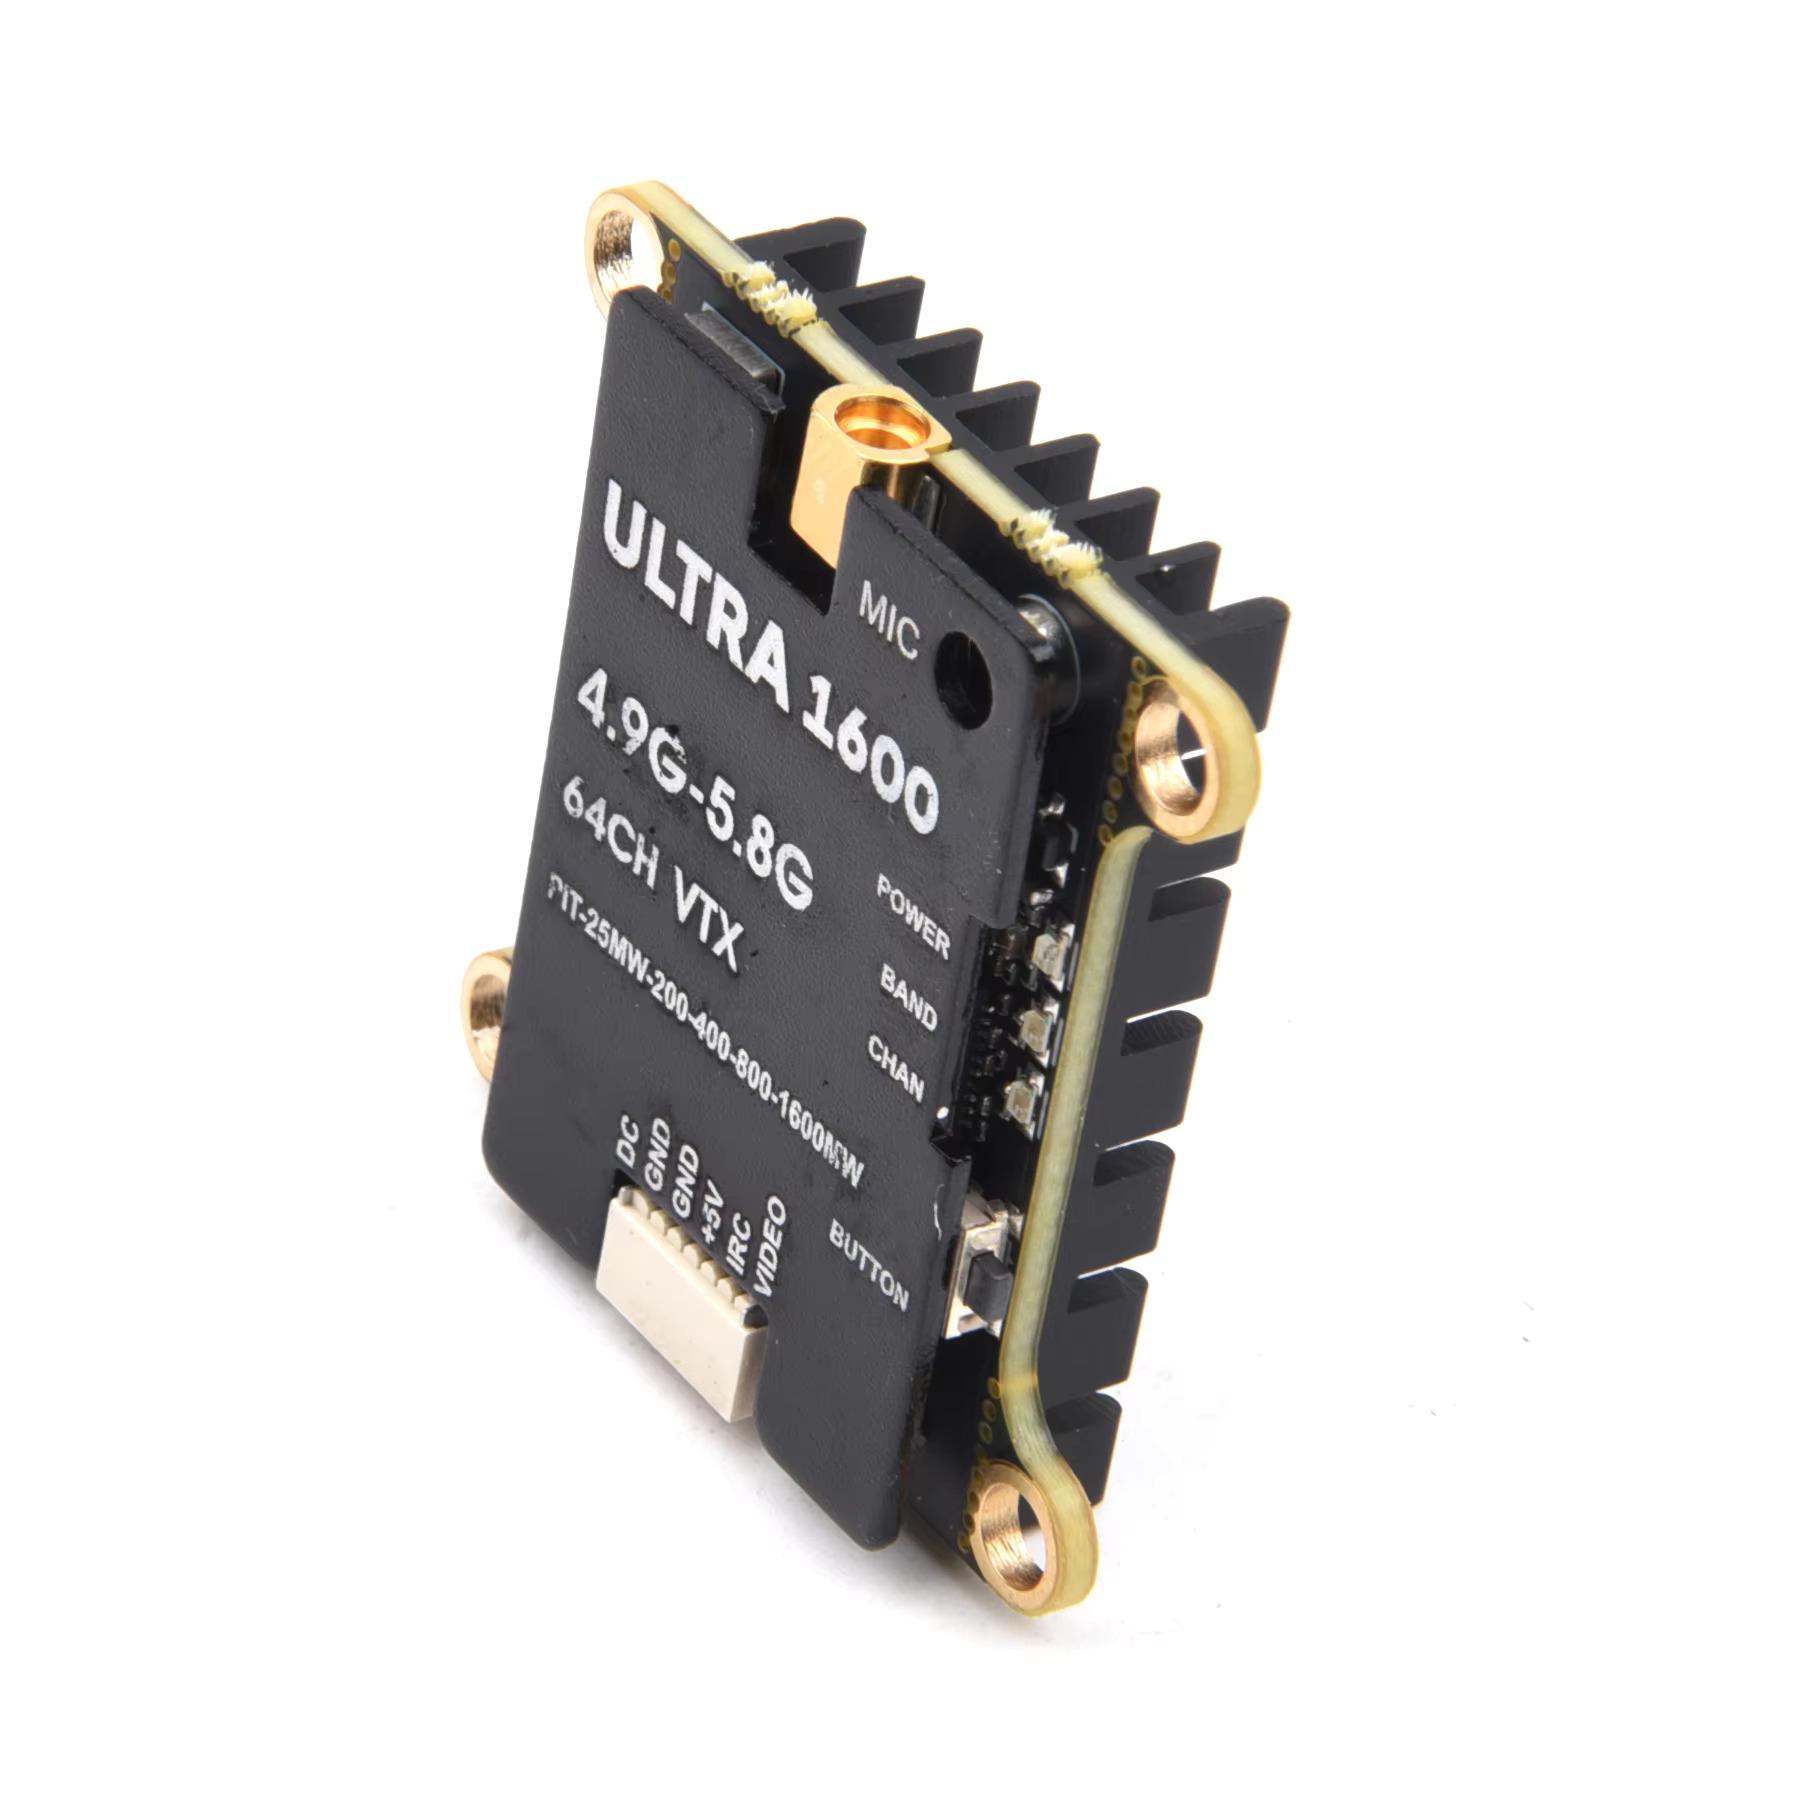
I ordered a generic-looking “Ultra1600” VTX module for its beefy looking heatsink hoping it would be enough to keep it cool without a fan at a low power setting.
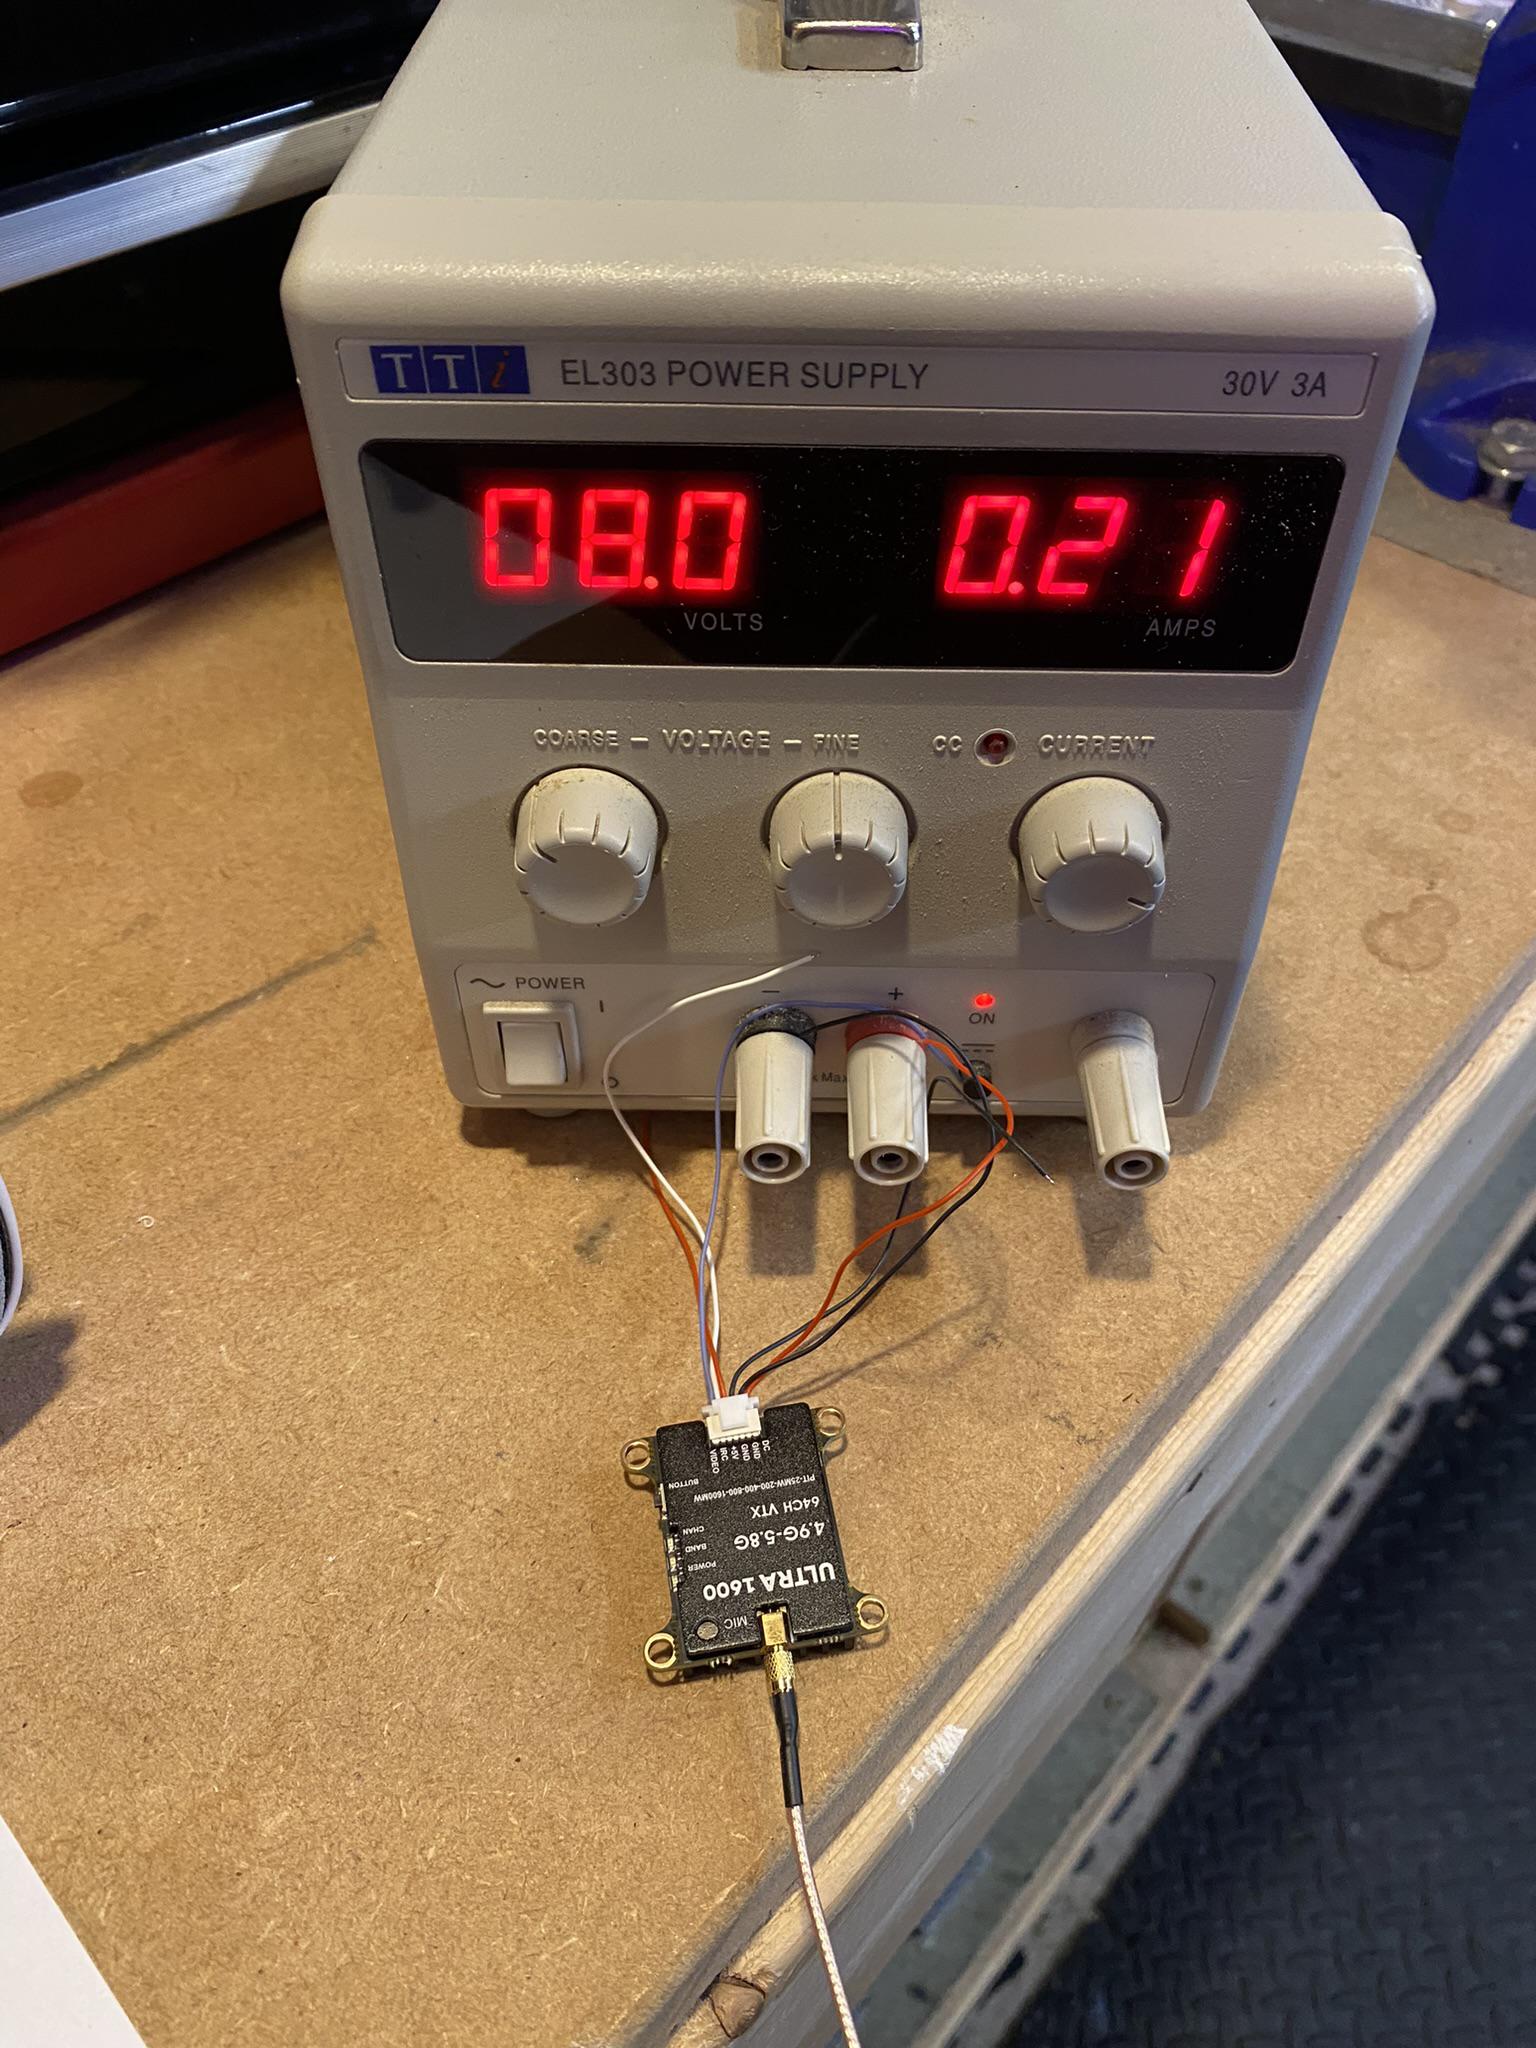
When it arrived, I hooked it up to my lab power supply and measured the current and temperature at the various power levels. At the default, 1600mW (!), it got painfully hot at around 70c quickly, drawing 800mA @ 9V or so. Thankfully at 25mW, it was a much more reasonable 200mA and stayed only slightly warm.
Given I’m using this in close quarters, 25mW should be plenty and also not produce too much RFI.
Here’s the block diagram for the system:

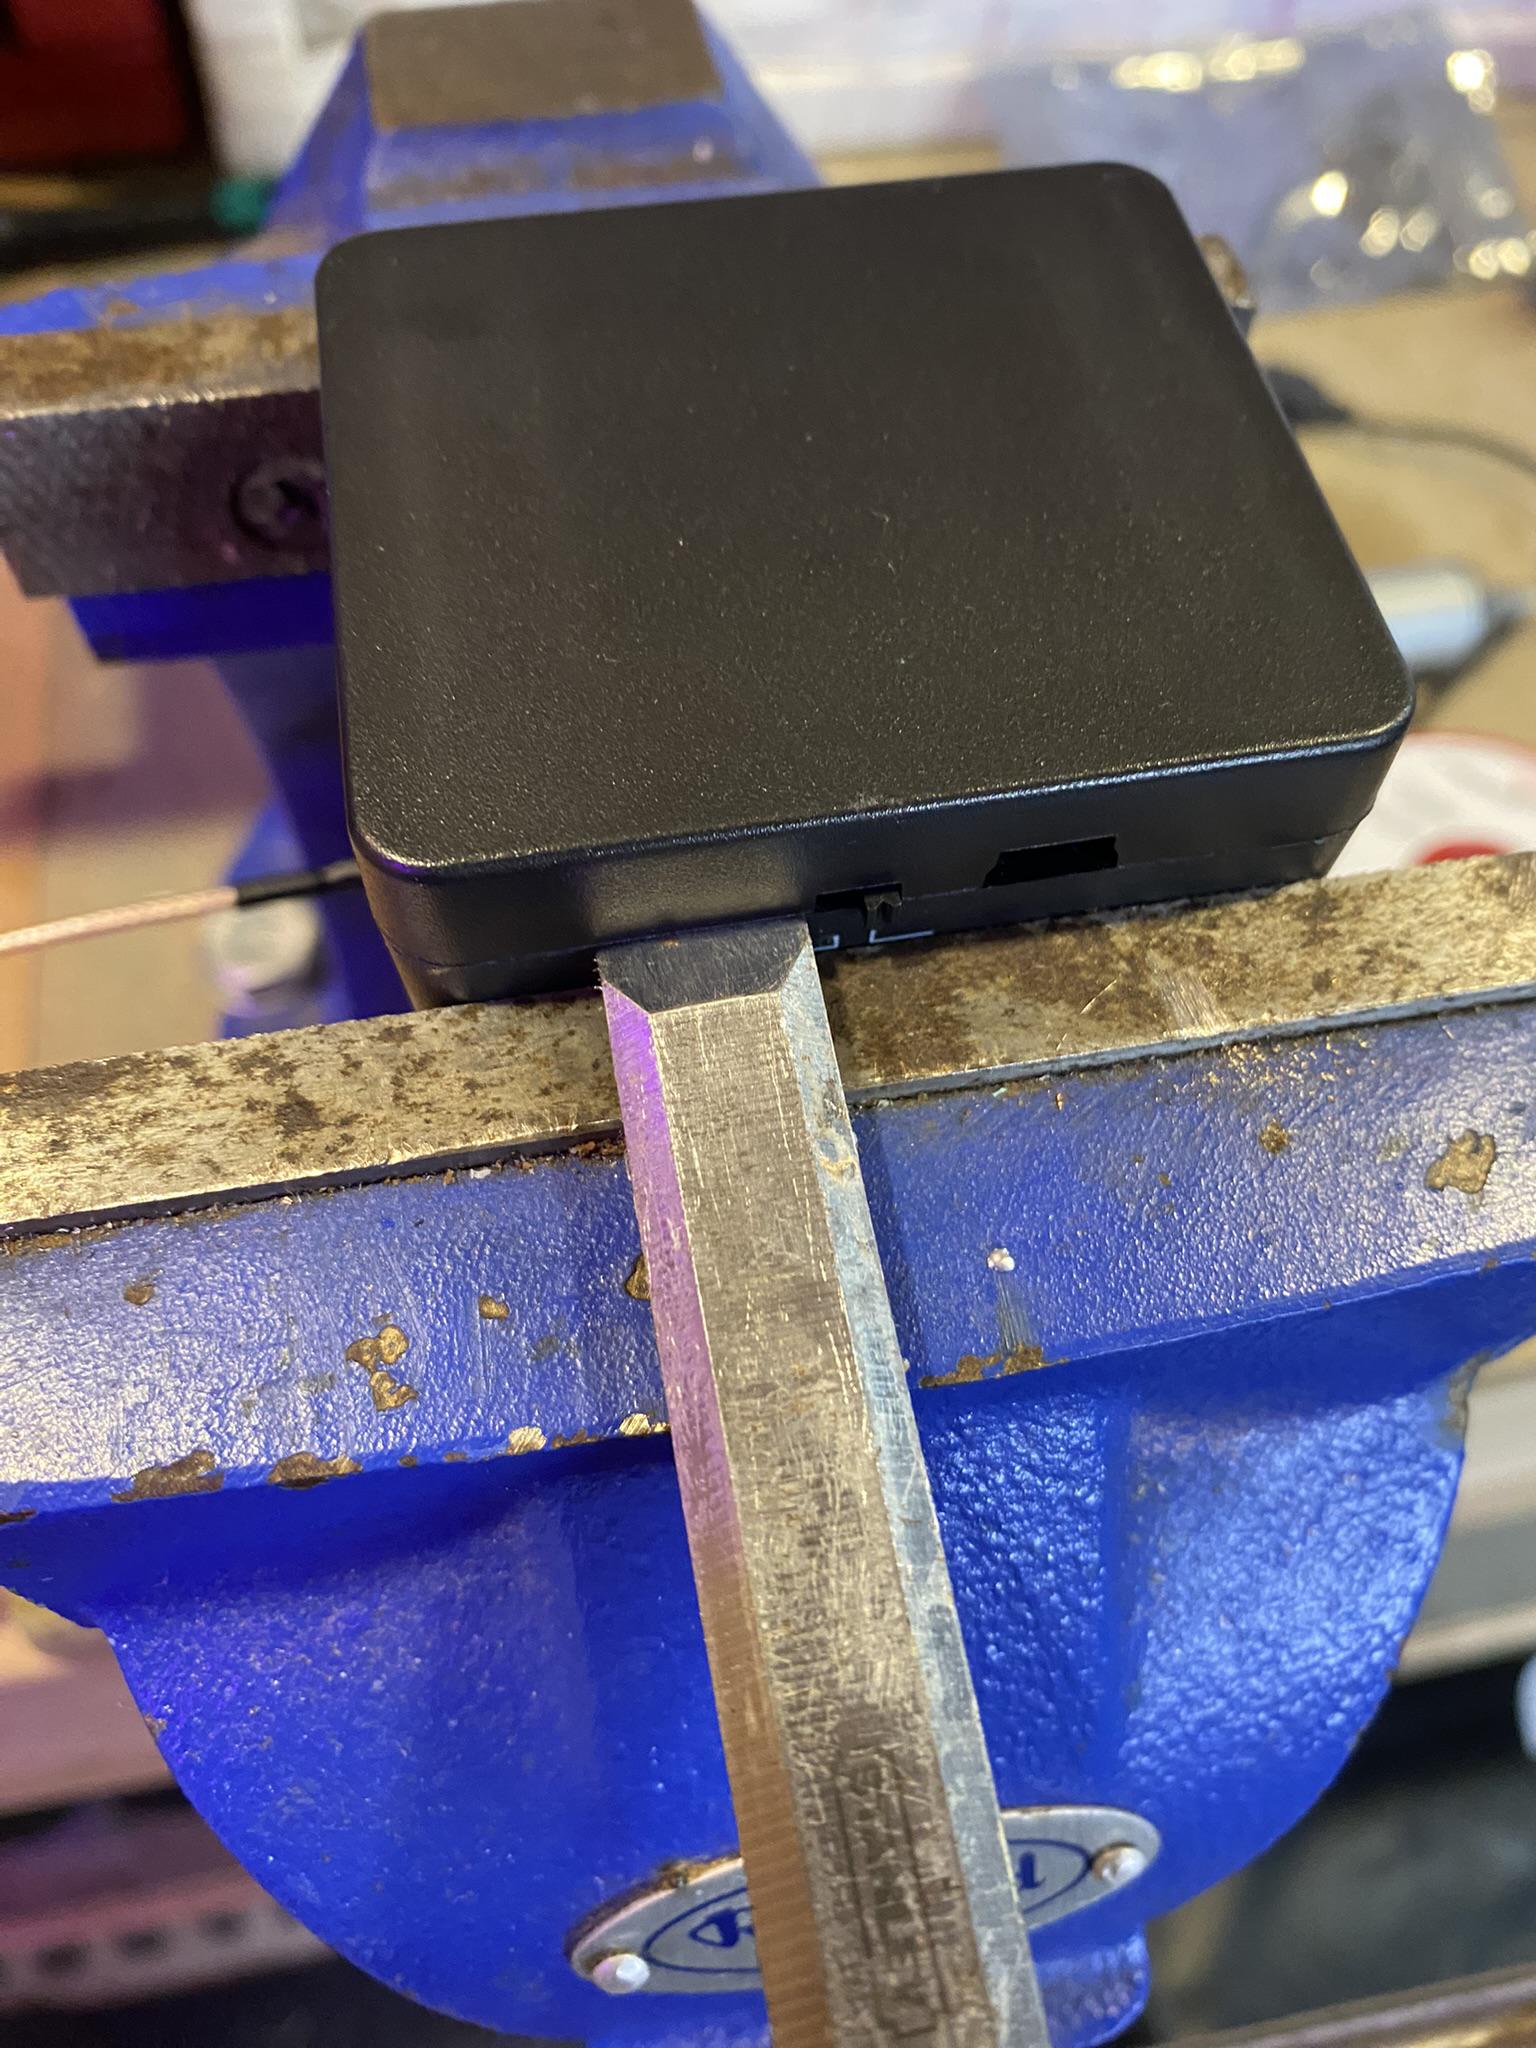
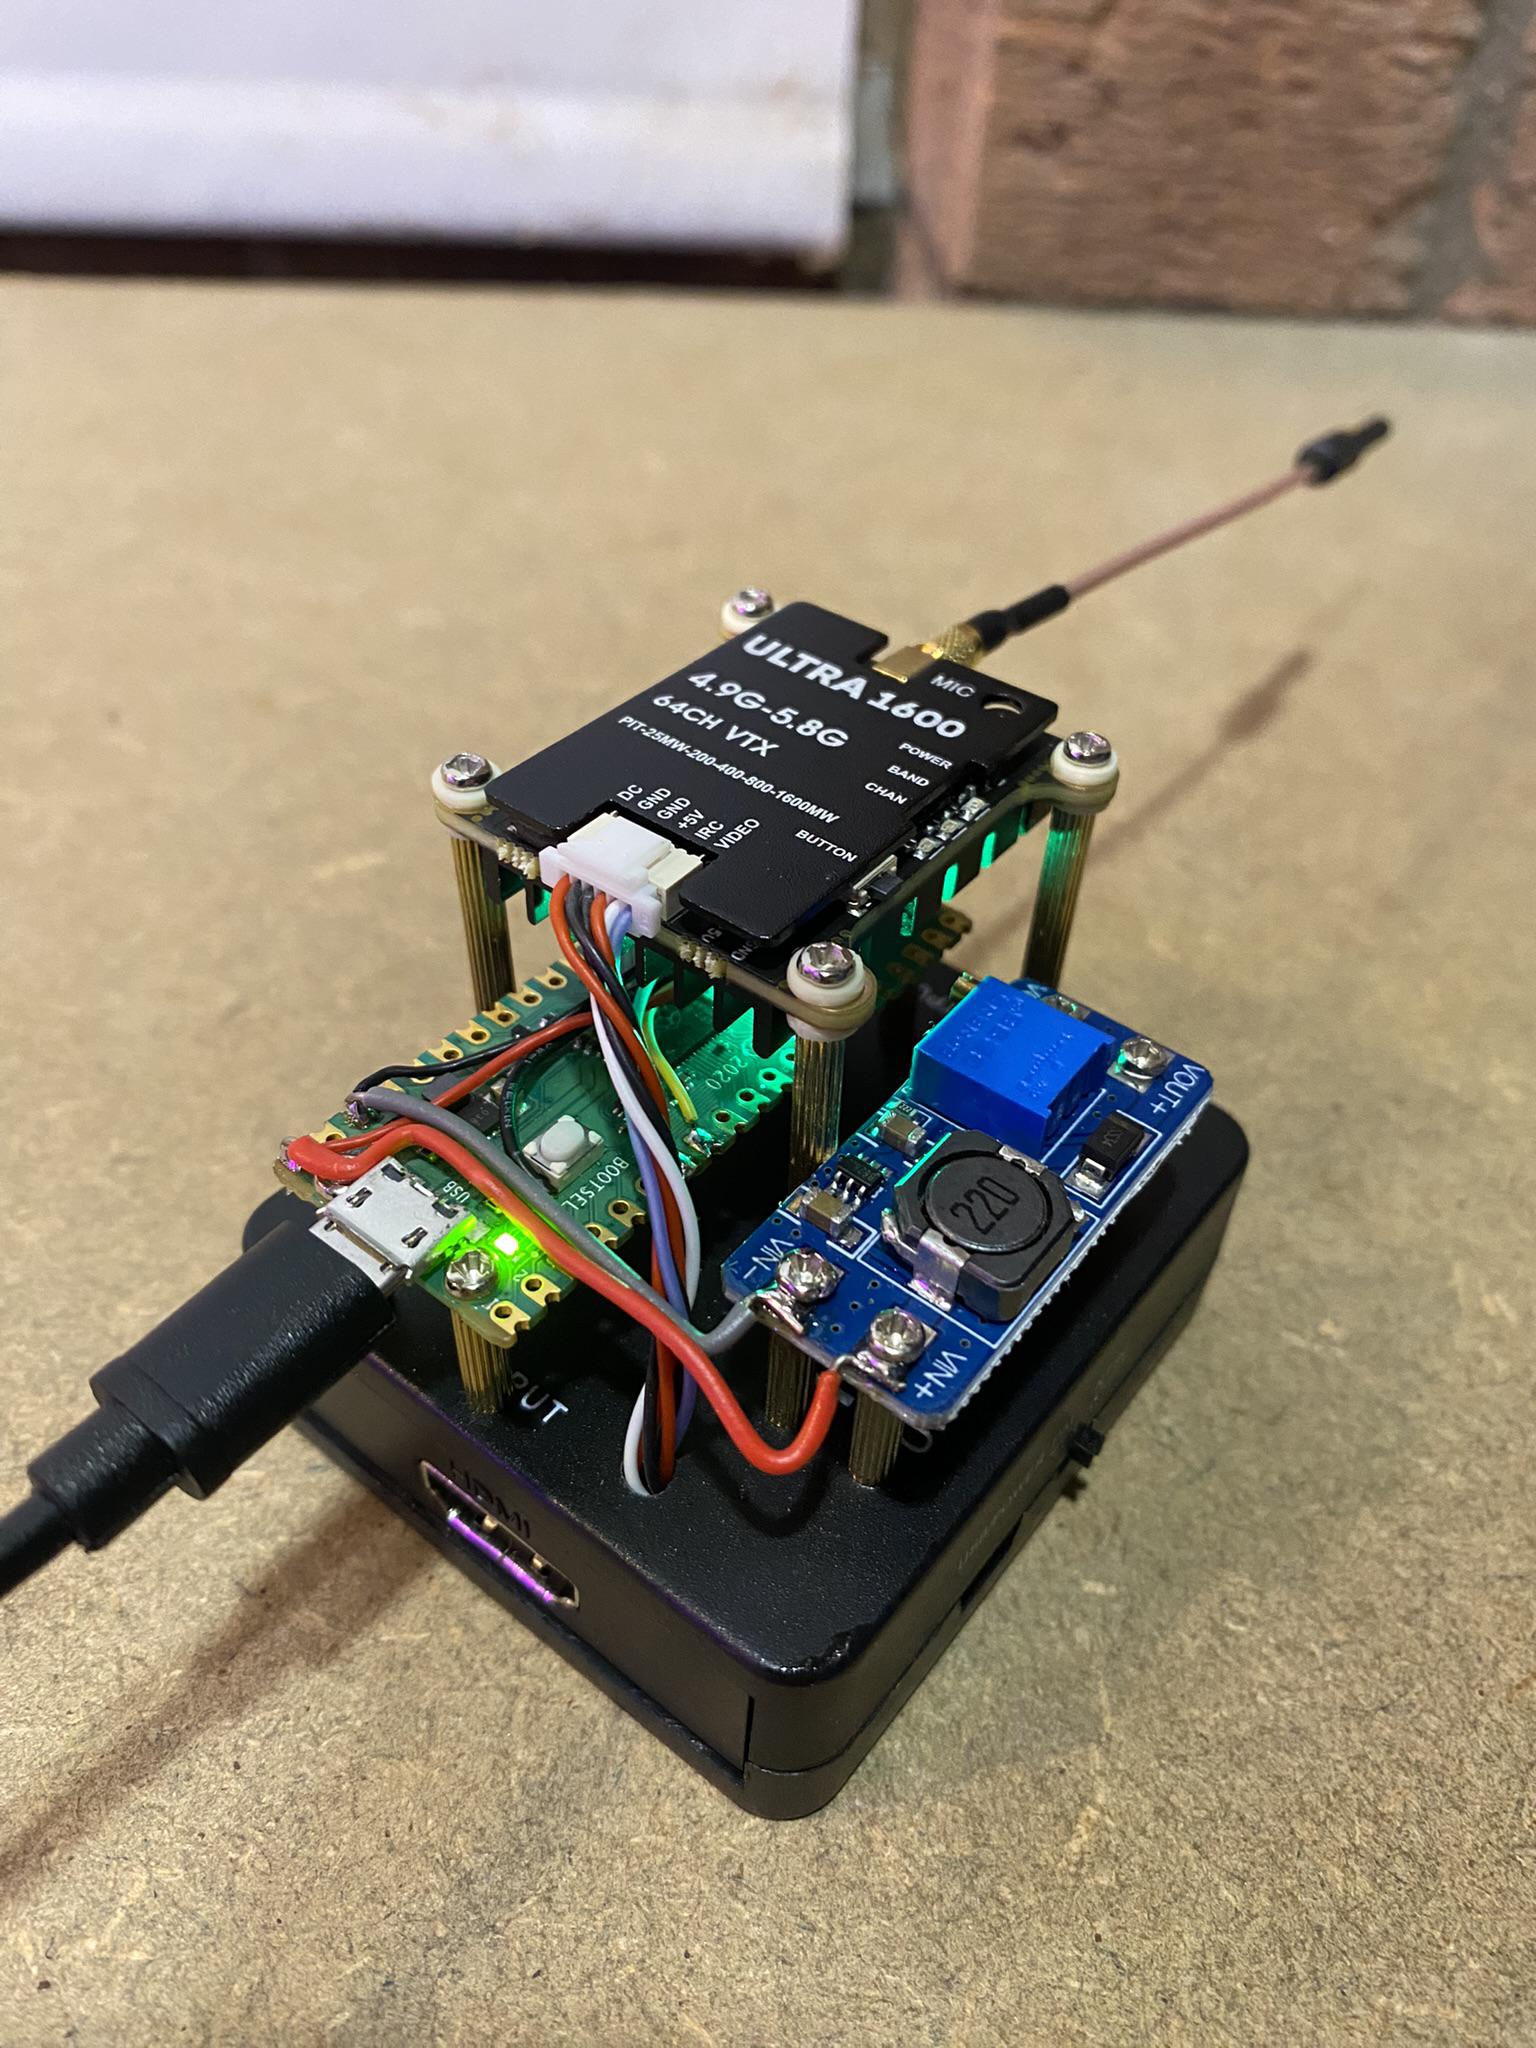
As for the construction, I thought it would look neat to bolt all of the extra boards on top of the HDMI converter using M2 standoffs. To achieve this I made a quick drilling template in OpenSCAD, and opened the enclosure with a chisel and hammer; no damage!
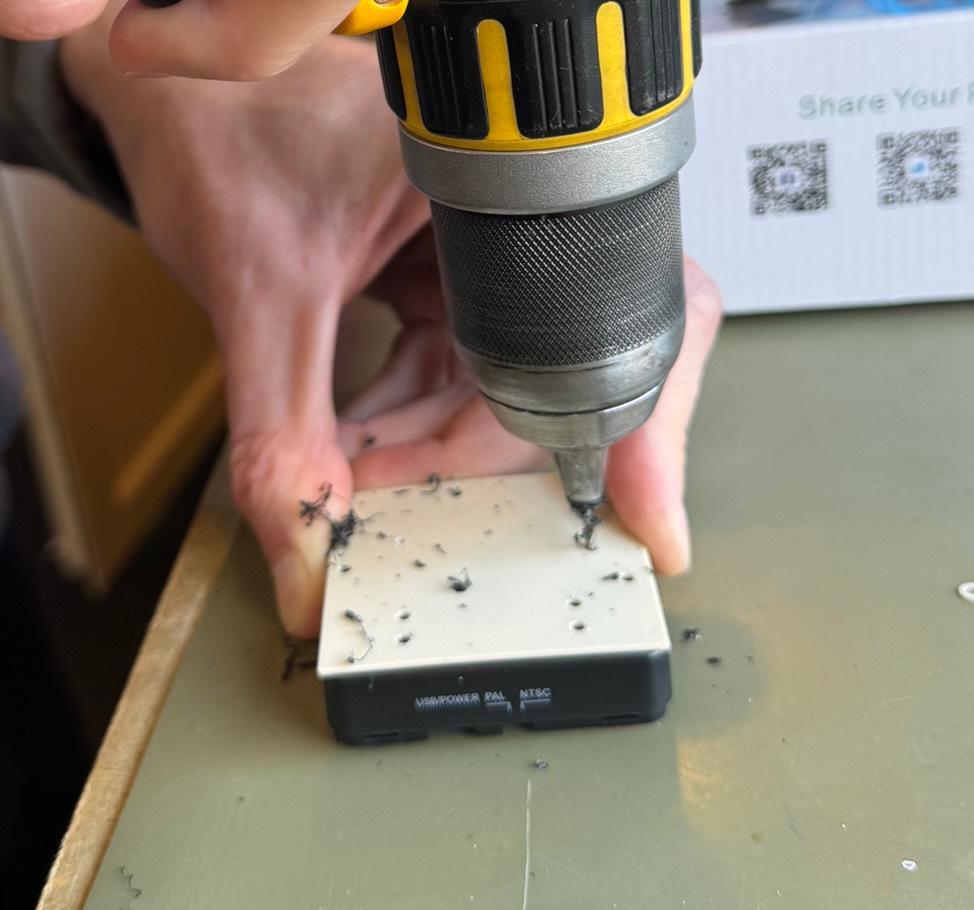
This meant make it a breeze to drill the holes in the right place and mount the boards:

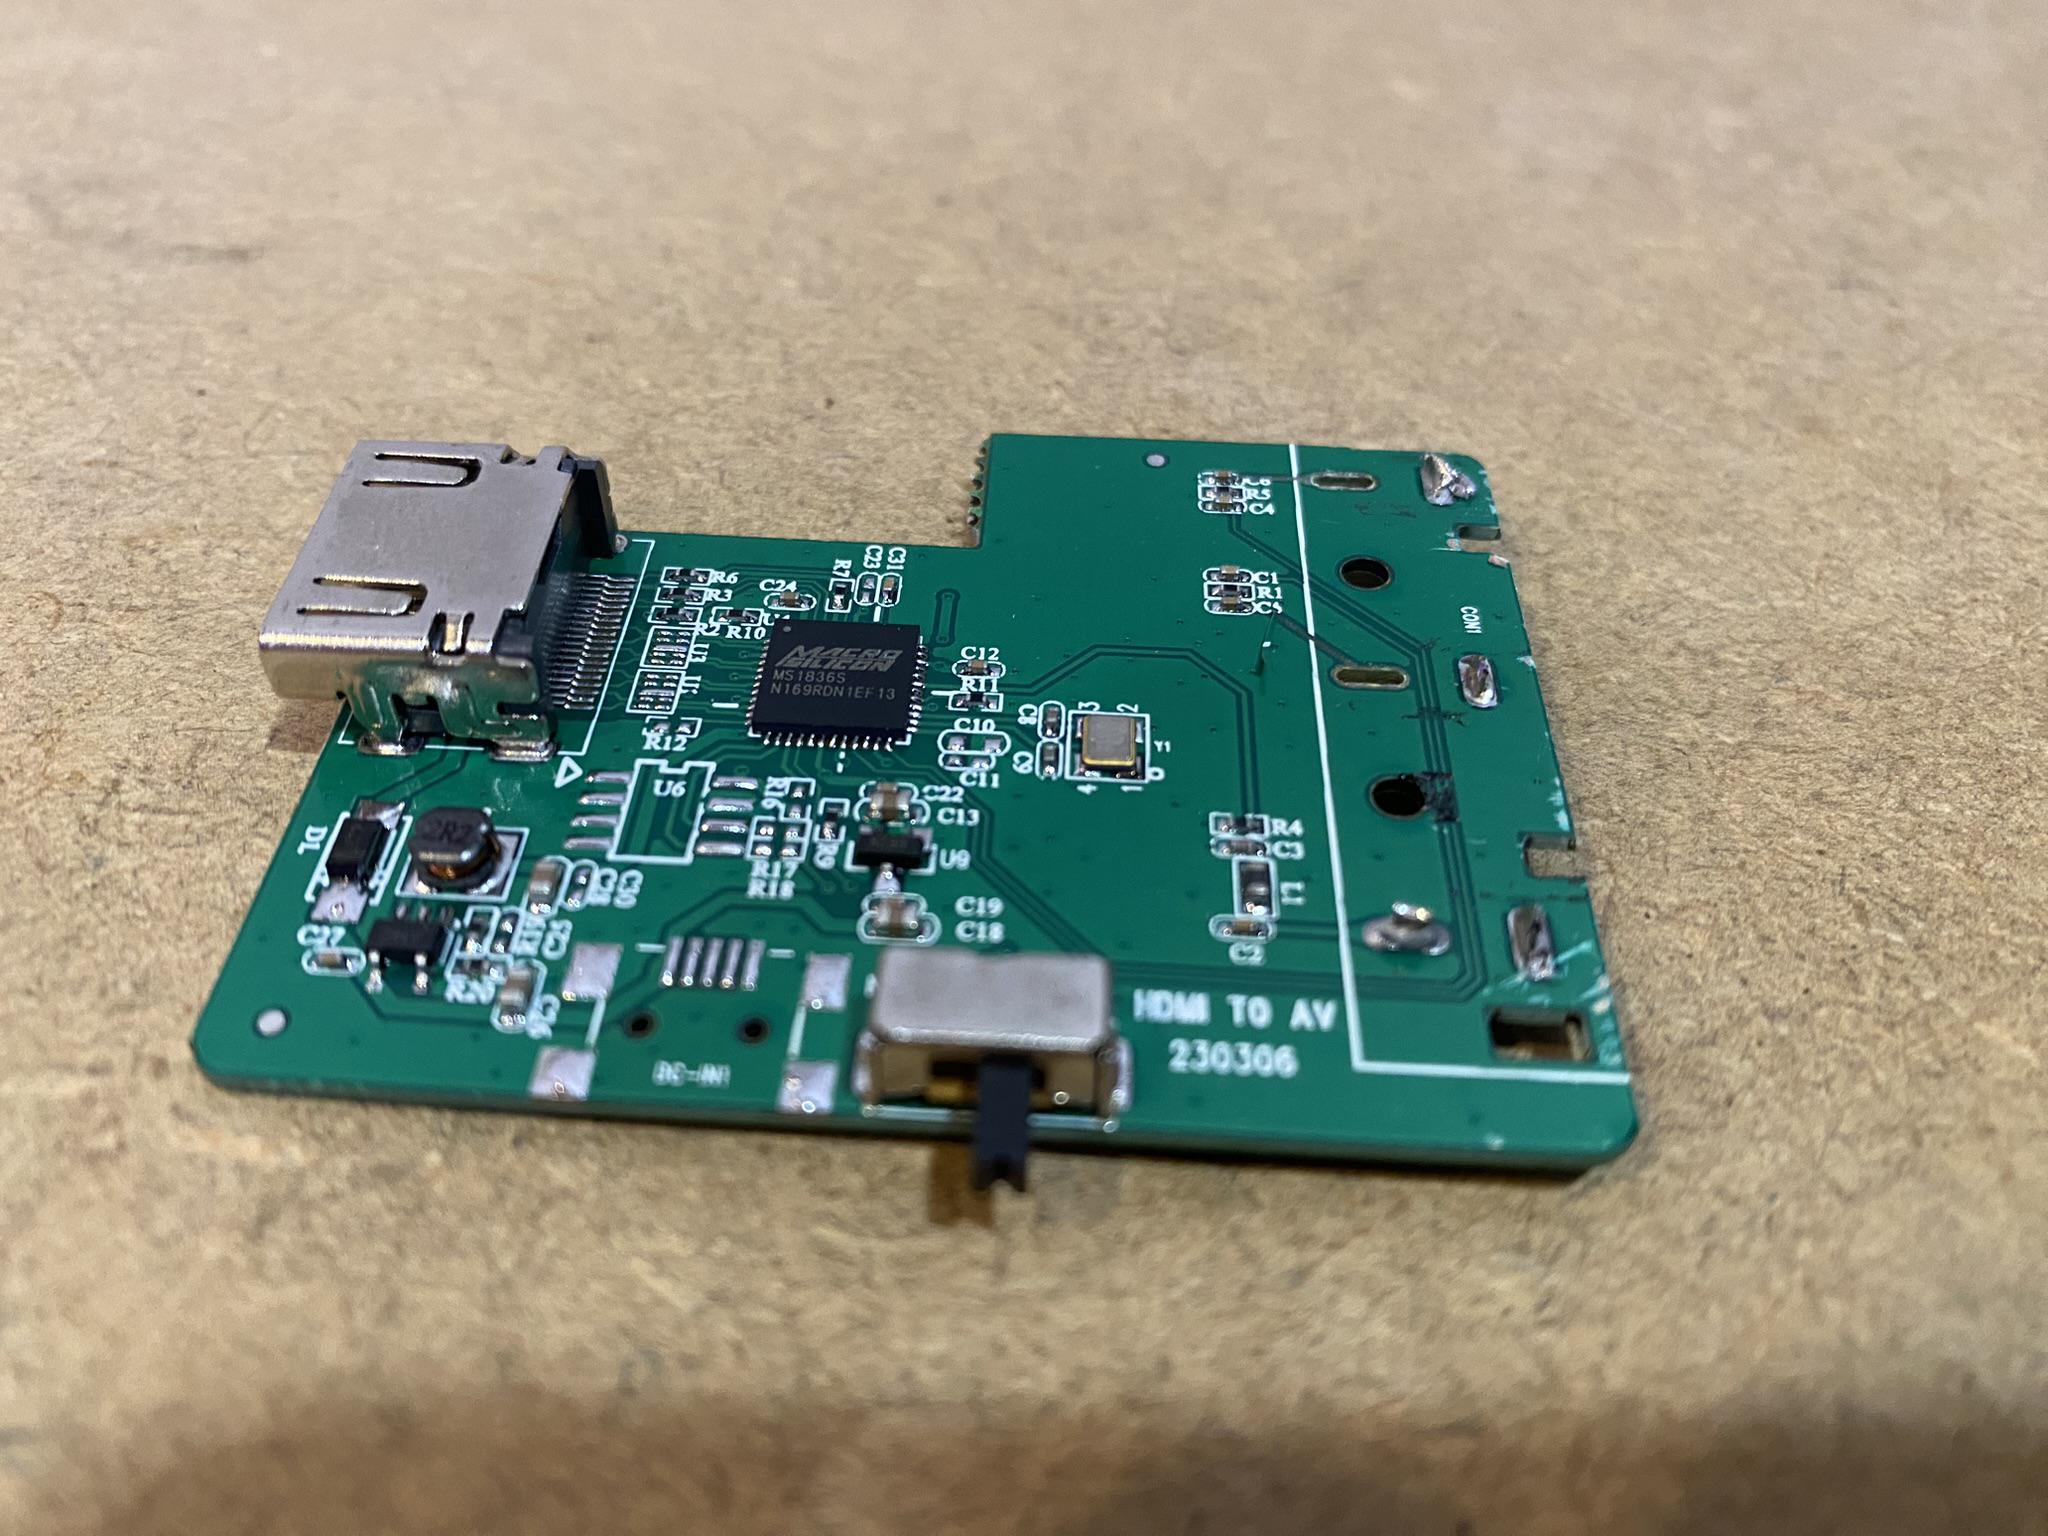
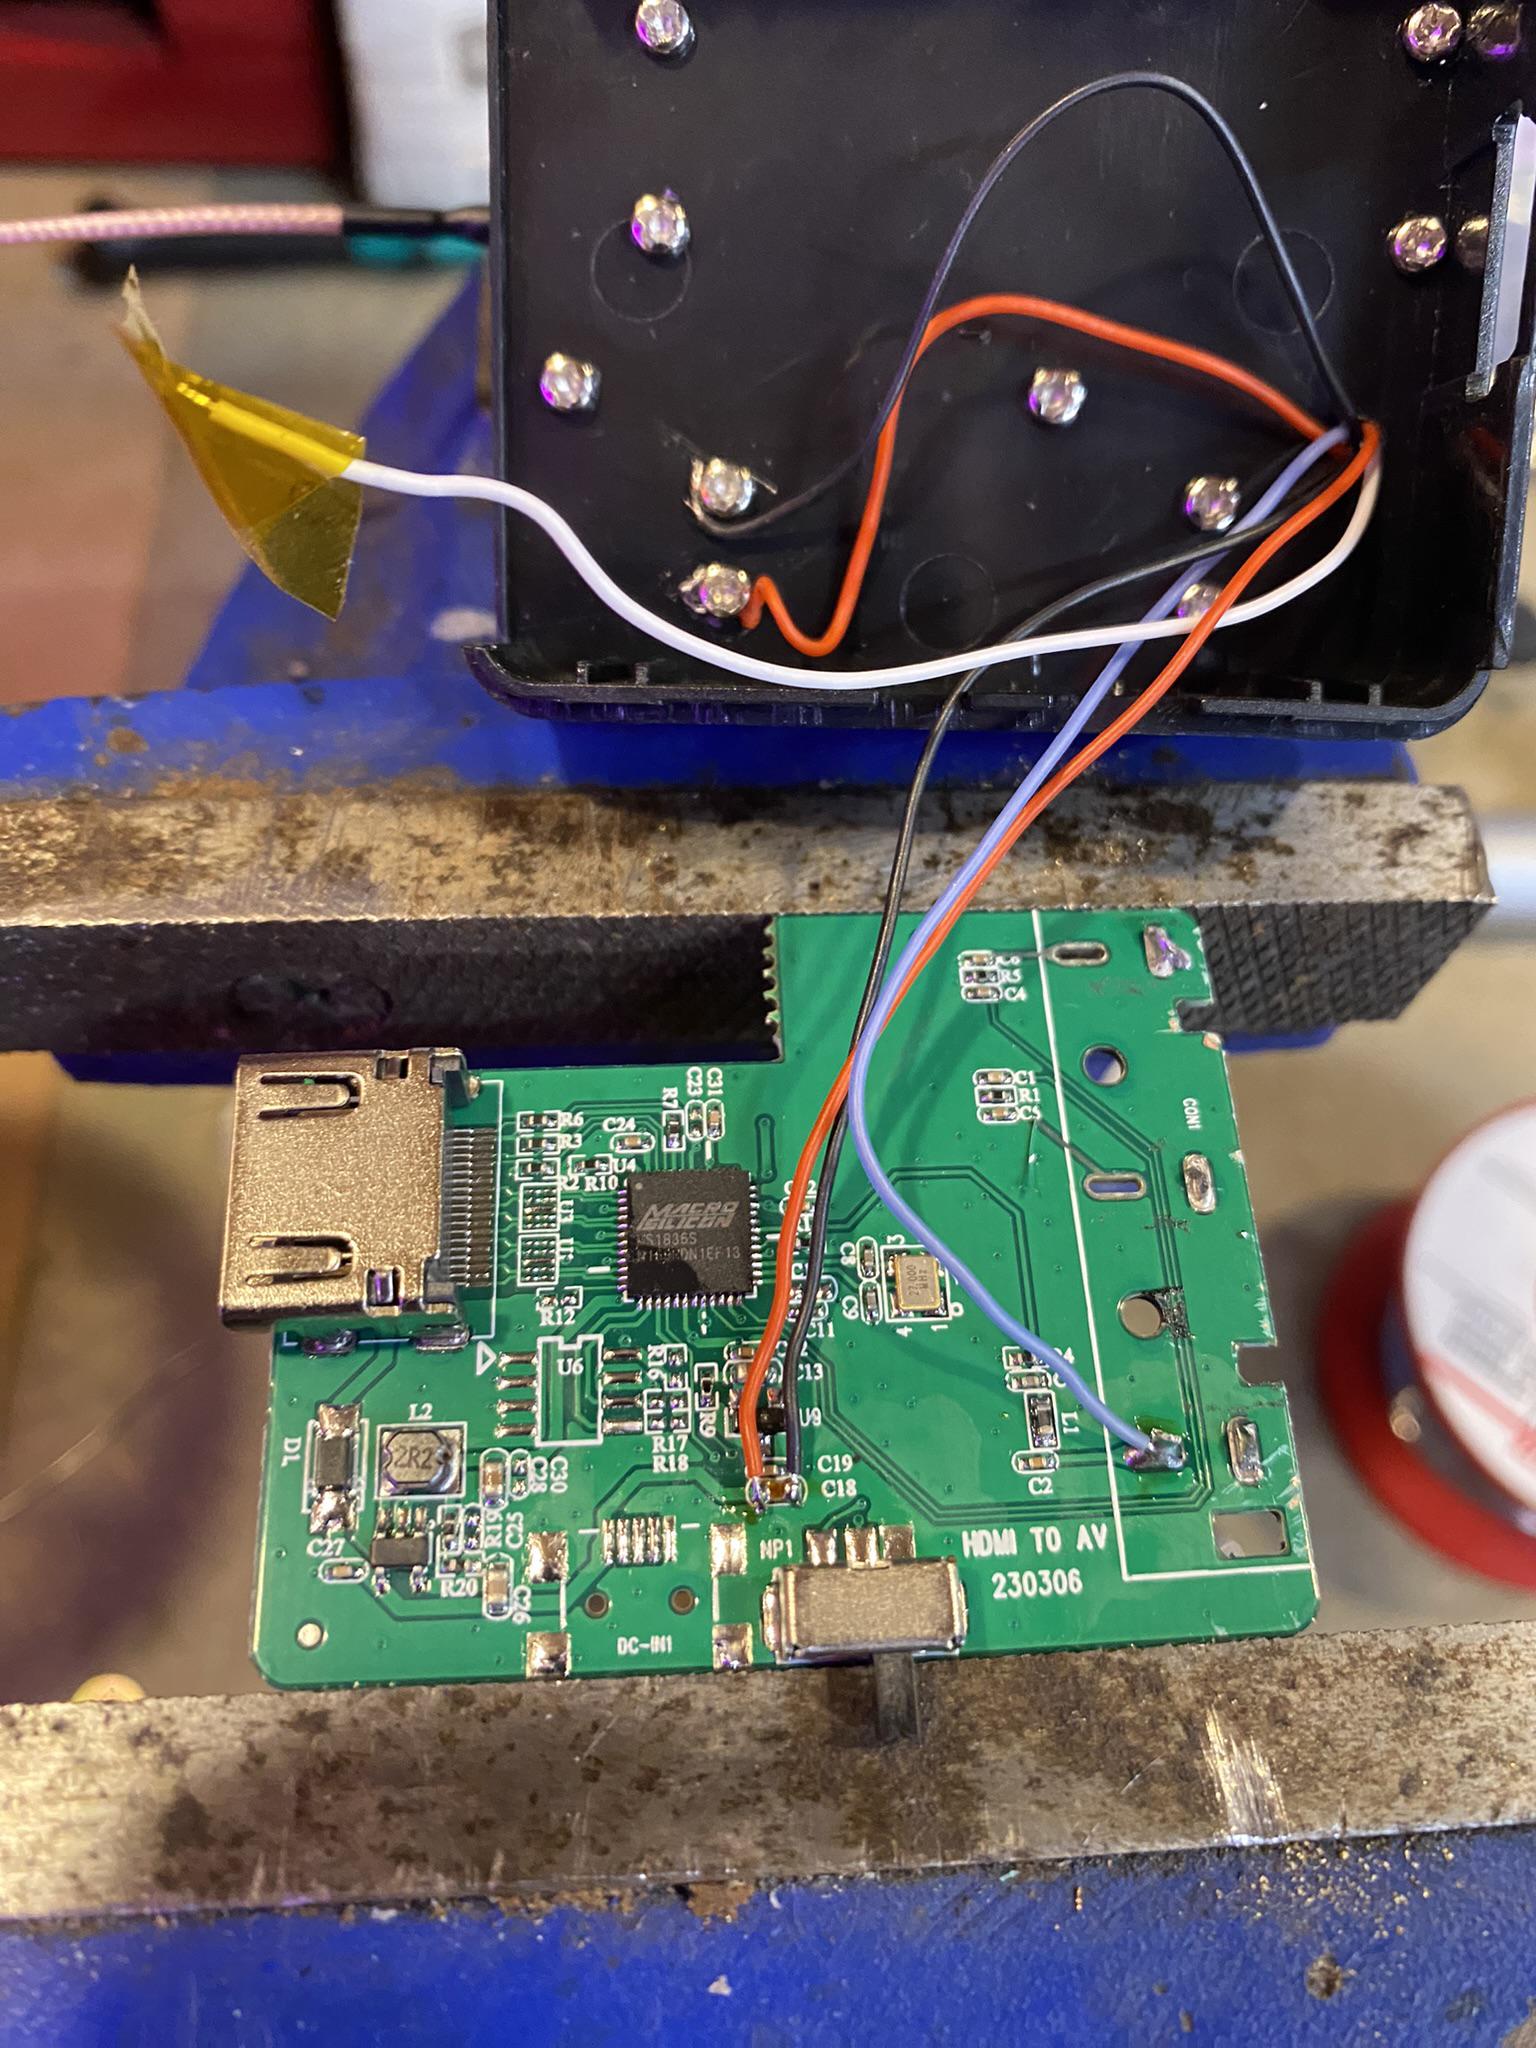
I modified the HDMI converter:
- I removed the Mini-USB connector (5 seconds with hot air!)
- I removed the RCA jacks
- I Used the input filtering capacitor to solder +5v and GND – powered from the 5V VTX output
The bring up
It didn’t work first time.
First, the CSRFjoystick module was not working, I couldn’t even connect to the ELRS module over WiFi to flash it! After 30 mins or so I realised I wired the TX and RX to the wrong pins. After fixing this it worked great! Updating the firmware to ExpressLRS 3.5 and setting a binding phrase was easy.4
When I connected the unit to the PC, it worked – detected as a 1080p monitor. It even started transmitting video to the goggles – bizarre, as I hadn’t connected the USB yet which was supposed to provide the power.
What was happening?
As it turns out, HDMI is able to provide 5v power; usually only about 50mA is available, which is how some active/repeater cables work. Clearly the power was coming via the HDMI lead but at more than 200mA.
As I used the 5v output of the VTX, the power must have been back-feeding into the VTX and powering it that way. I suspect there’s a 5v regulator in the VTX which powers both the VTX itself and the 5v output. The manual warns against using this output as an input to power the module, but this is likely to avoid frying the module with anything more than 5v.
As such, I reckon I could eliminate the boost converter and power the VTX with 5v directly via the “input.”
Given this backfeeding, I decided to clip the 5v line going from the Pi Pico to the HDMI converter. That way the video card 5v supply and 5v USB power won’t “fight”.
After this everything worked as expected!
I set the binding phrase to the same as my real drone, so I can use the same controller for both. I won’t cover this here. ↩︎
Performance

Latency was not an issue. From scrolling around I could notice it comparing the monitor to the goggles, but it was not a problem for flying. I will measure the latency as soon as I can borrow a camera with a global shutter.
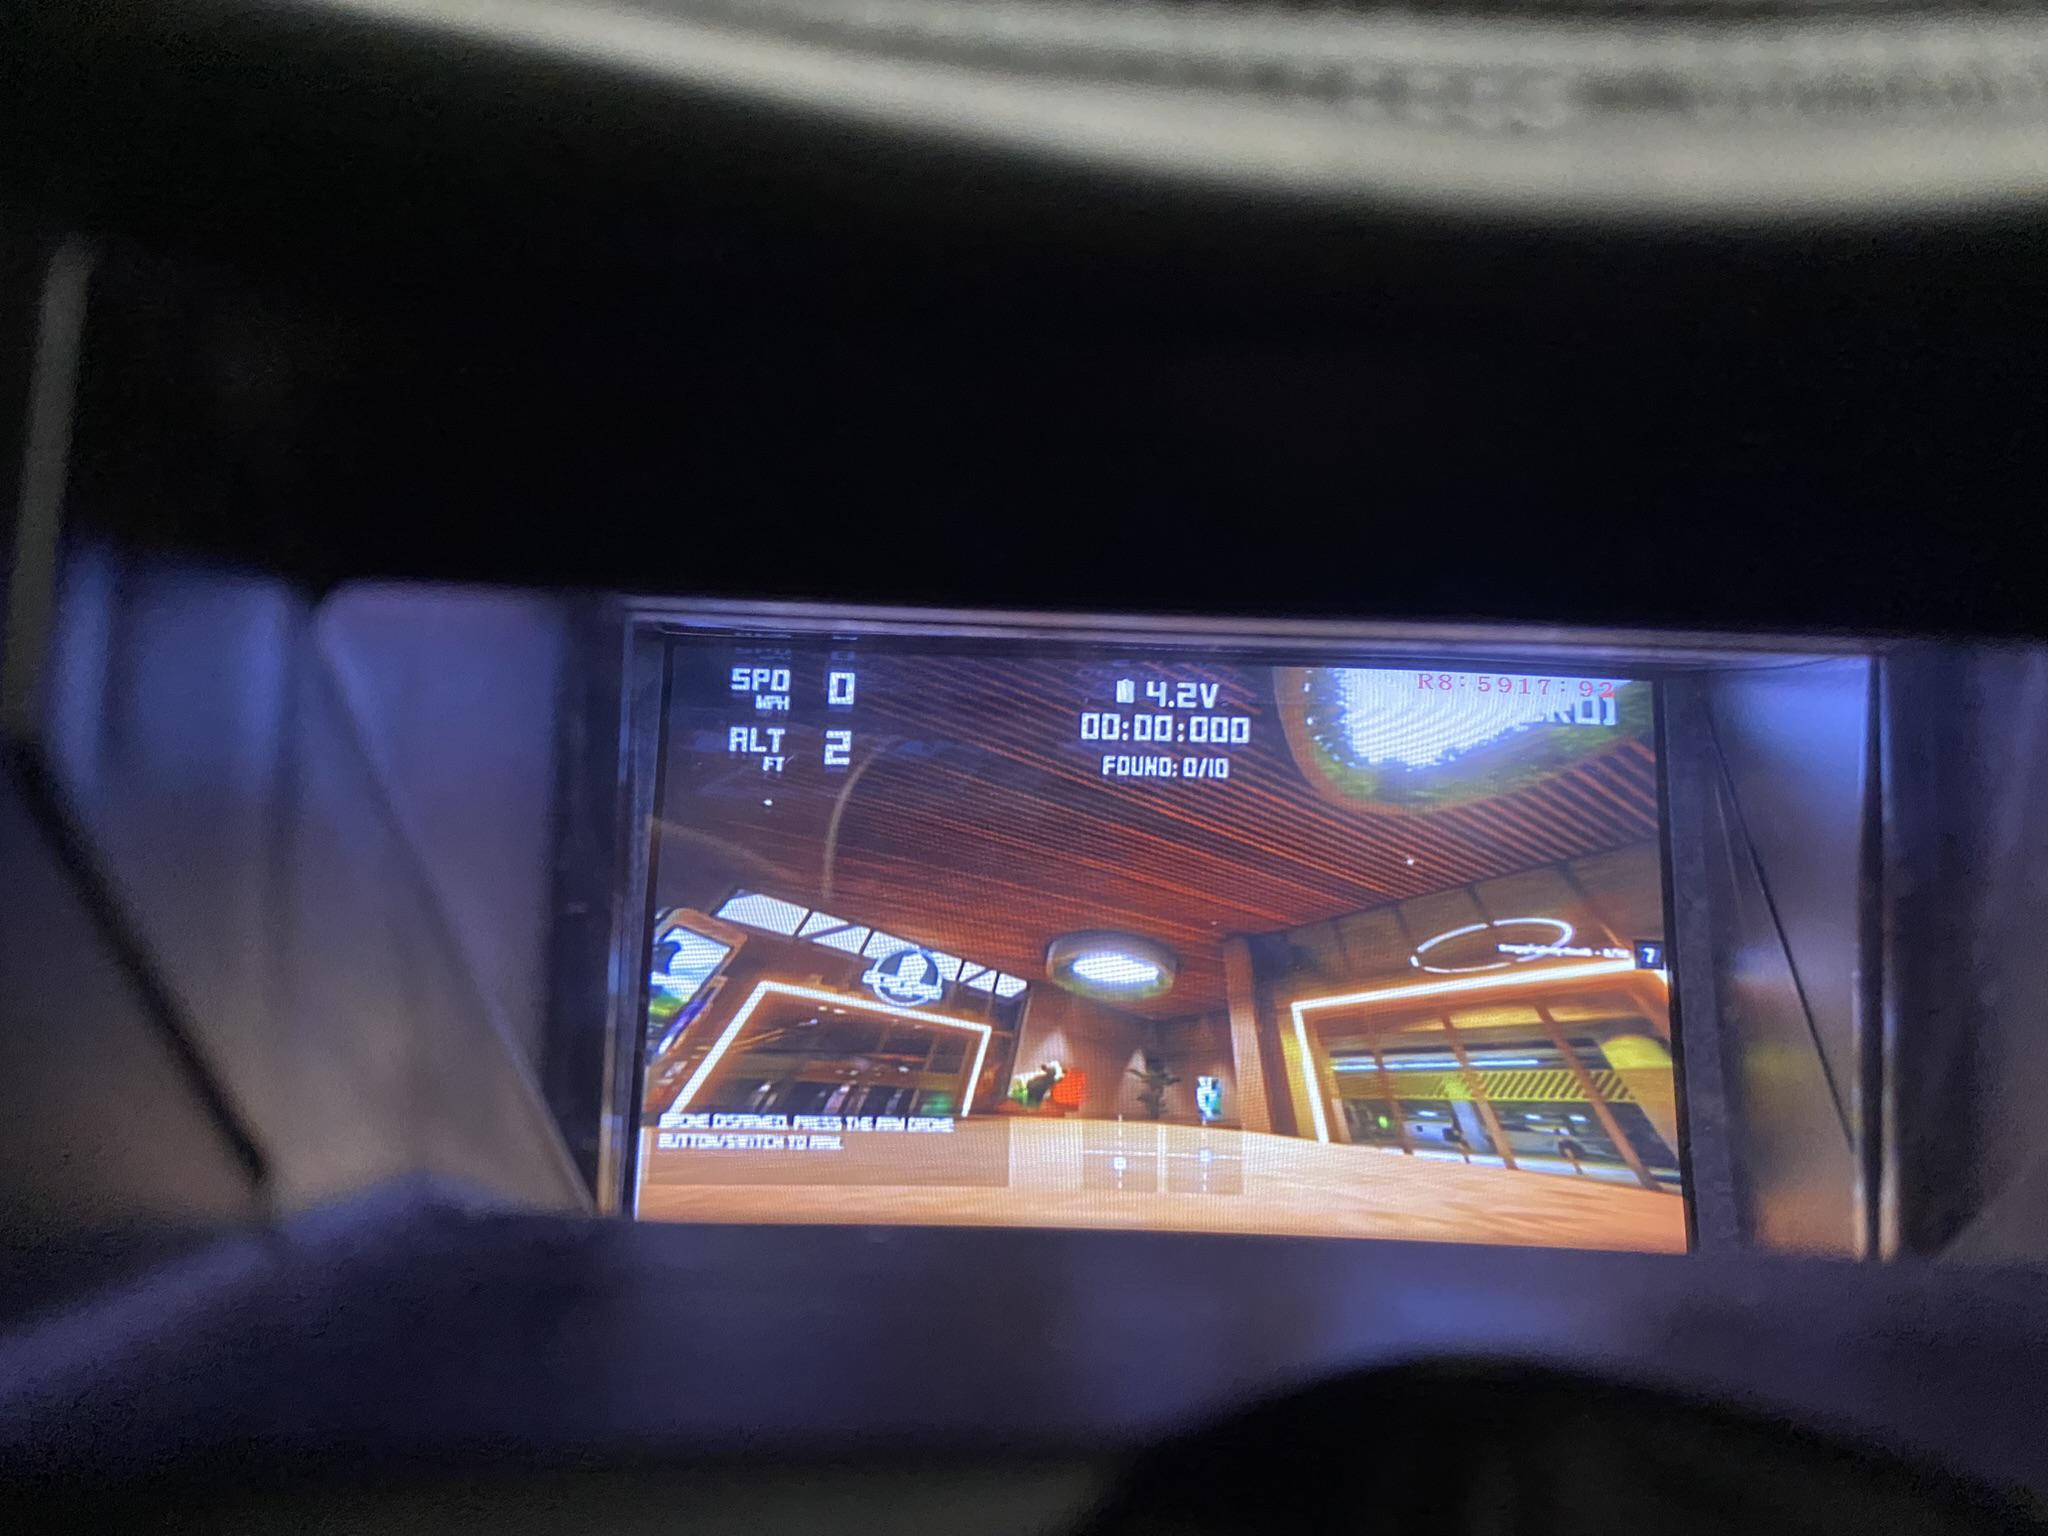
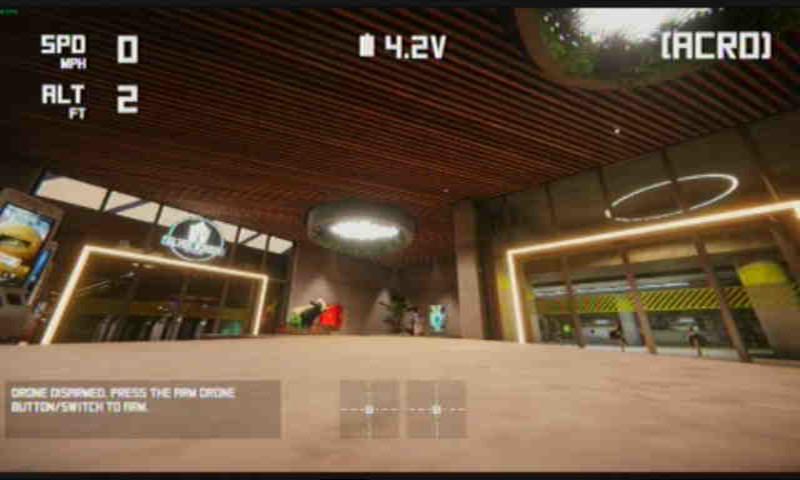
The quality of the video feed was surprisingly good for an old analog PAL signal. The aspect ratio was even right – it starts at 16:9 and ends up 16:9 as the goggles stretch the received image.
I can even roam the house and garden and play the sim, despite the low VTX power. Win!
Further improvements
Next I will try and lift the 5v pin from the HDMI converter. In theory this should allow me to power the HDMI converter from the VTX as intended; but I wonder also if I can switch that 5v power to activate and deactivate the whole system with a toggle switch.
This would be useful as it means I should be able to prevent an extra monitor (1080p) from being detected when the system is not in use – preventing my main (cloned) monitor from scaling the lower resolution unnecessarily.
Of course as mentioned I could also remove the boost converter if I use the VTX 5v “output” as the input.
Conclusion
Hacking together a VTX and HDMI converter with a joystick converter is a great idea to up your FPV drone skills without damaging your drone or wasting props. It’s straightforward to assemble in a single evening!
The added realism (video breakups, close screen, poor resolution) helps with real-world flying skills.
Thanks for reading! If you enjoyed this article or have comments, please consider sharing it on Hacker news, Twitter, Hackaday, Lobste.rs, Reddit and/or LinkedIn.
You can email me with any corrections or feedback.
Tags:
Related:

